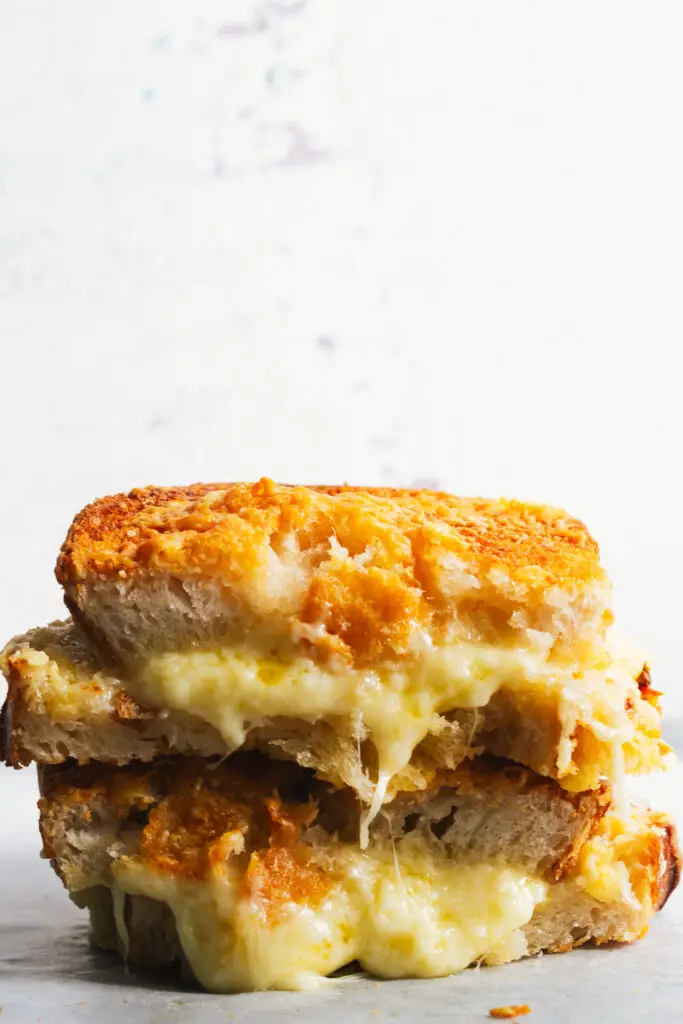
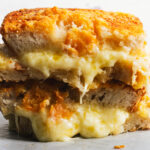
If you want the crispiest, meltiest grilled cheese with zero fuss, this Air Fryer Sourdough Grilled Cheese Sandwich is the way to go. The air fryer gives you an ultra-golden crust and perfectly melted centre every single time. Ready in minutes and ideal for quick lunches, late-night cravings or easy comfort food.
Ready in minutes and perfect for quick lunches — just like my Truffle Mushroom Pasta.
Why You’ll Love This Air Fryer Sourdough Grilled Cheese
- Perfectly golden every time — no guesswork, no burning
- Evenly melted centre thanks to circulating heat
- Ready in under 10 minutes
- Uses simple ingredients you already have
- Air fryer = less mess, no babysitting
- Thick sourdough gives incredible crunch + flavour
From My Kitchen
I make grilled cheese regularly, and the air fryer has become my number one method. You get the crispiest, most even golden finish without ever worrying about burning the bread or under-melting the cheese.
When I want quick comfort food, this is always on rotation — right alongside my Chilli Scrambled Eggs
Air fryers melt cheese beautifully because the hot air circulates around the sandwich — and thick-cut sourdough holds its structure so you get that perfect crisp-chewy bite.
This is my favourite quick lunch when I want pure comfort with almost no effort.
Tools You’ll Need
- Air Fryer (any basket or drawer model)
- Grater — fresh cheese melts far better
- Butter knife
- Parchment paper or air fryer liner (optional, stops sticking)
- Tongs or spatula for flipping
Ingredient Notes
- Sourdough: Choose slices about 1.5–2 cm thick so they crisp without drying out.
- Cheese: Use a blend for best melt + flavour. My go-to combo is:
- Sharp cheddar (flavour) and Emmental for the stretch
- Butter: Soft, spreadable butter gives the crispiest crust.
- Optional add-ins: jalapeños, mustard, caramelised onions, tomato slices, chilli flakes.
How to Make a Sourdough Grilled Cheese Sandwich In The Air Fryer
-
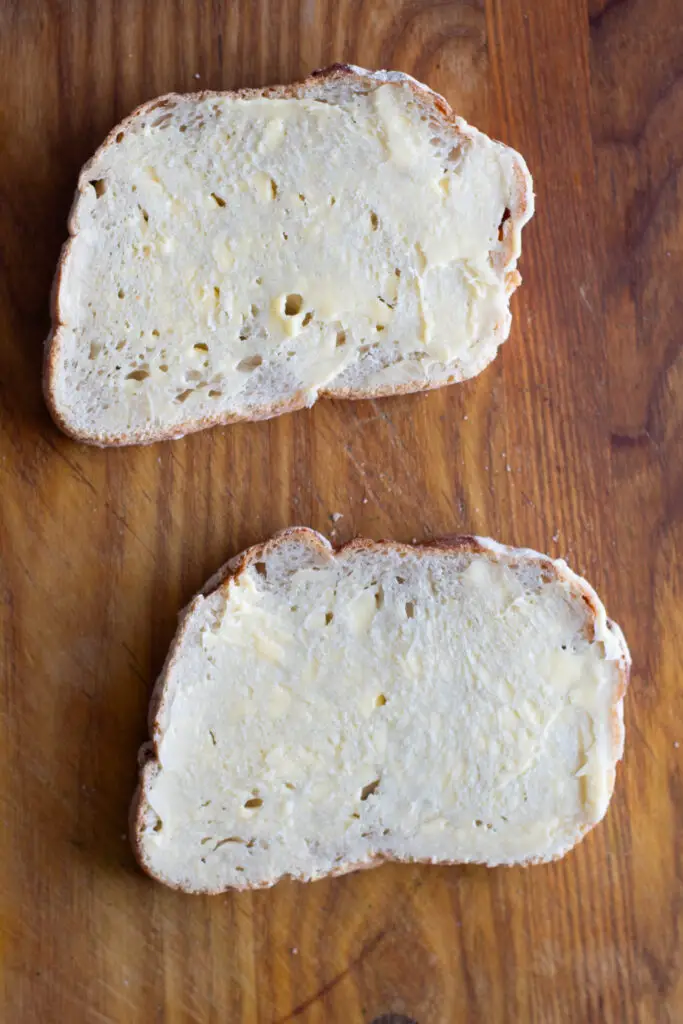
Butter your bread (both sides) – I like to liberally butter both sides of my bread. The butter helps to crisp up the outside but also provides flavour to the inside of the sandwich aswell. It also helps to secure the cheese to the bread when you assemble your sandwich.
-
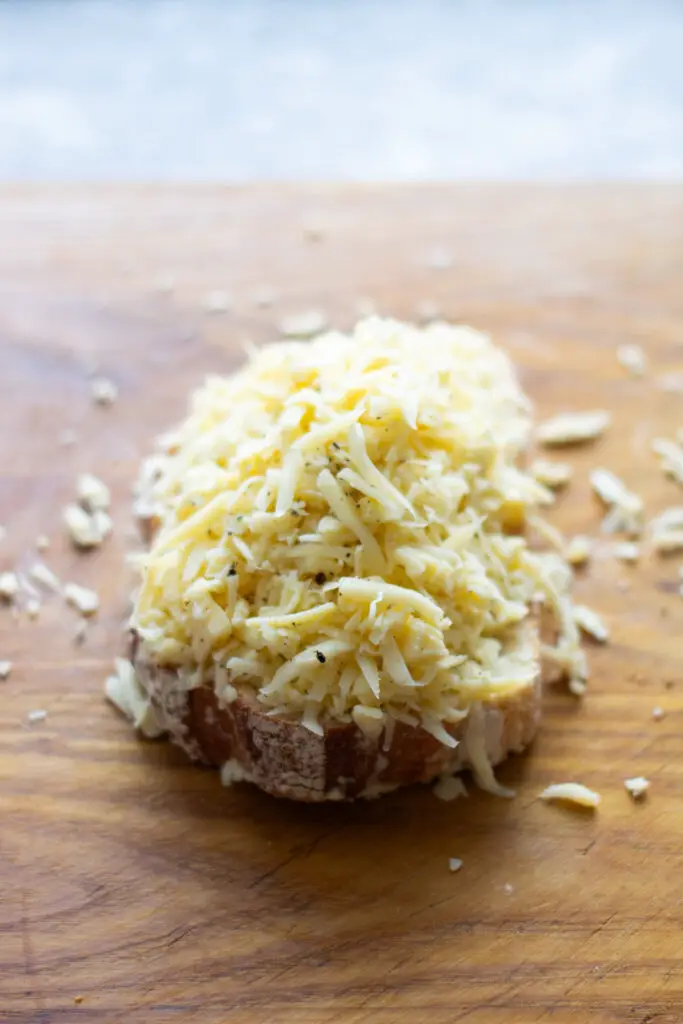
Grate your cheese – I like to grate the cheese to get a nice even melt on the inside of the sandwich. I also like to mix up the cheese with some cracked black pepper before assembling.
-
Choose the right setting on your Air Fryer. I used 200° C to make this sandwich. I have tried it using a ‘crisp’ option on the fryer itself, but this resulted in the bread becoming crispy and almost burnt before the centre was gooey and melted. Your fryer will have its own settings.
-
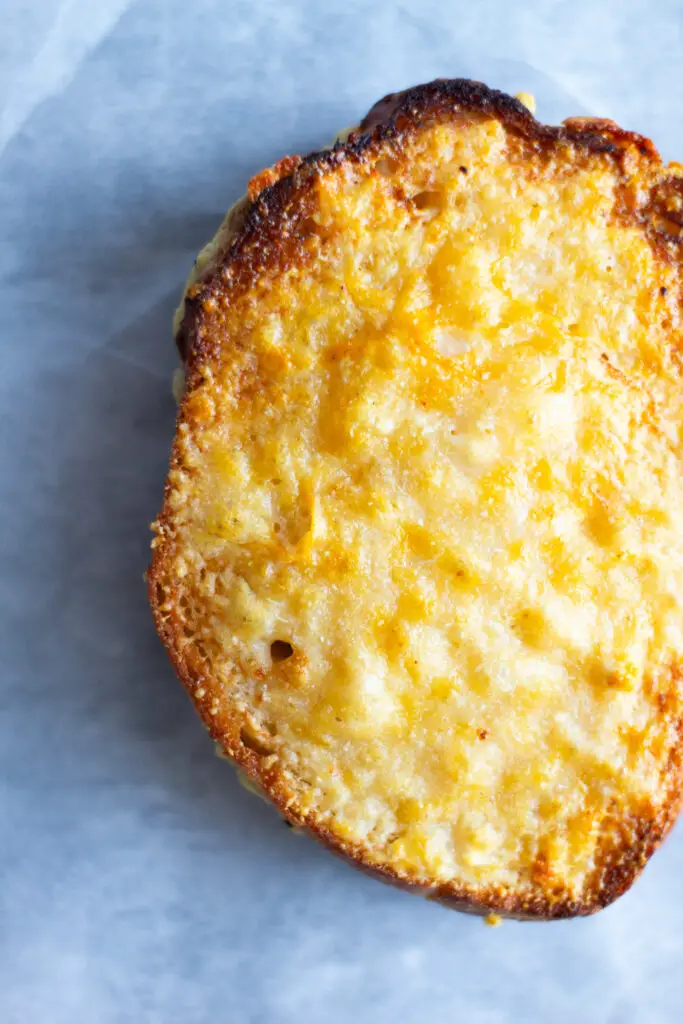
Top with grated parmesan – this is optional but I like to add some grated parmesan to the top slice of the sandwich. The sandwich will get crispy without this extra cheese but parmesan is lovely and extra crispy when melted, plus it’s extra cheese and this sandwich is all about that cheesy hit.
Pan-Fried Version (Optional Alternative)
If you don’t have an air fryer, here’s the traditional method:
- Heat a pan over medium-low.
- Butter the sourdough as above.
- Cook for 3–4 minutes per side, covering with a lid to help the cheese melt.
- Slice and serve.
This version is great — but the air fryer stays crispier for longer.

Tips From My Kitchen
- Rest it. One minute makes the cheese settle perfectly.
- Use grated cheese. It melts far more evenly.
- Don’t overcrowd the basket. Air needs to circulate.
- Flip halfway. Ensures even browning.
- Butter to the very edges. Crisps the whole surface.
- Check every few minutes. If you are unsure of the power setting for the air fryer, go easy and check regularly so you don’t burn the sandwich.
There’s a great breakdown on Serious Eats about the science of melting cheese.
What Could Go Wrong
- The bread burns or gets too dark → Your air fryer runs too hot. Drop heat to 170°C next time.
- Cheese leaks into the basket → Too much cheese or slices not aligned. Keep cheese 1 cm from the edge.
- Bread dries out → Slices too thin or cooked too long.
- Cheese doesn’t melt → Use grated cheese + flip + add 1 extra minute.
Variations
Extra melty: add a layer of mozzarella
Spicy: chilli flakes or jalapeños
Gourmet: brie + caramelised onions
Sweet-savory: cheddar + thin apple slices
Garlic butter: mix garlic powder into the butter
If you love simple, comforting meals, you’ll also enjoy my Spaghetti Napoli.
Serving Suggestions
- Enjoy with pickles for crunch
- Pair with Kachumber Salad
- Serve with tomato soup
- Add chips or wedges
- It also makes a great brunch option alongside my Country Omelette.
Storage & Reheating
- Store: Wrap tightly, refrigerate for up to 2 days.
- Reheat: Air Fryer: 2–3 minutes at 180°C
- Pan: low heat for 3–4 minutes
- Avoid the microwave — it softens the bread.
FAQ’s
You can use your favourite bread, I love sourdough and it stands up well to the melted cheese. If you like a more tender lighter crumbed sandwich, try good old white sandwich bread or even brioche.
You can shred your own cheese for this sandwich, it will melt more evenly. Be careful not to opt for pre-shredded cheese, it’s coated in starch and will not melt as well.
For me its classic cheddar with some mild emmental but you can pair any of your favourite cheeses or stick to trusty cheddar. An alternative is brie, which is nice and tangy and melts well. If you want a creamier sandwich go for mozzarella.
Only if your air fryer allows space for airflow. Otherwise, cook in batches.
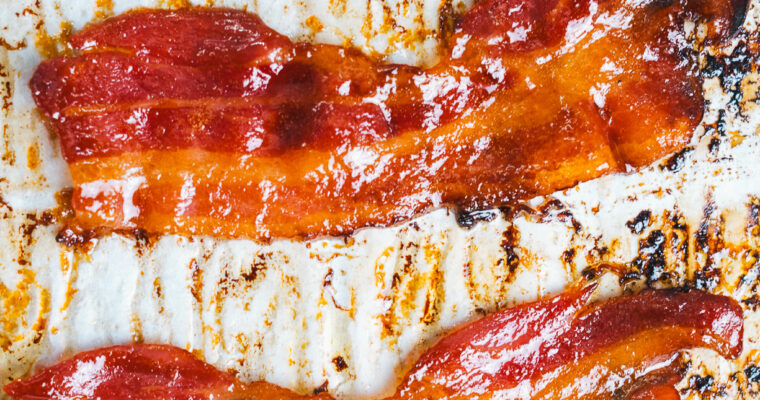
Thin ham, cooked bacon, or chicken work great.
Try My Other Recipes
Air Fryer Sourdough Grilled Cheese Sandwich
Equipment
- 1 Air Fryer
Ingredients
- 2 thick slices of sourdough bread
- 60 g grated Emmental cheese
- 60 g grated mature cheddar
- 30 g grated parmesan
- Salted butter to spread on each side
- Cracked black pepper
Instructions
- Butter both sides of both slices of bread liberally then preheat your air fryer for a few minutes
- Top one slice with the grated emmental cheddar mix
- Place other slice on top of the cheese and place in the air fryer
- Once in the air fryer, top with the grated parmesan before you close the drawer
- I used 200°C for around 6-8 minutes one side, then flipped and finished off for another few minutes till golden and crisp all over

Hi, I’m Paul! I’m a passionate home chef, recipe developer, and food lover who believes that cooking should be fun, rewarding, and stress-free! Through Scoffs & Feasts, I share my favorite tried-and-tested recipes, cooking tips, and troubleshooting advice to help home cooks gain confidence in the kitchen. Whether you’re a beginner or an experienced foodie, I hope my recipes inspire you to try something new.