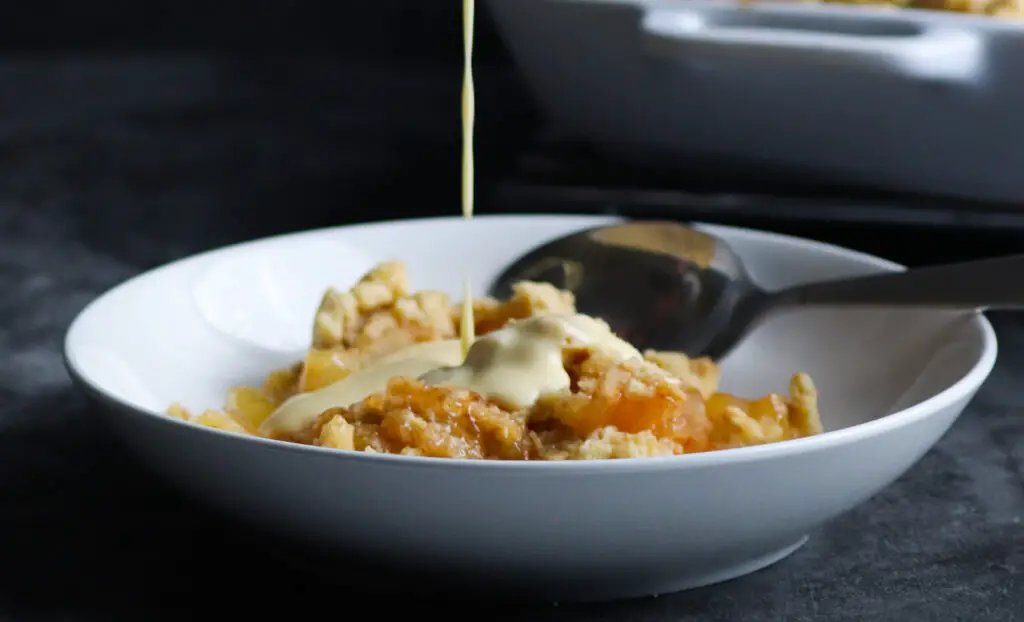
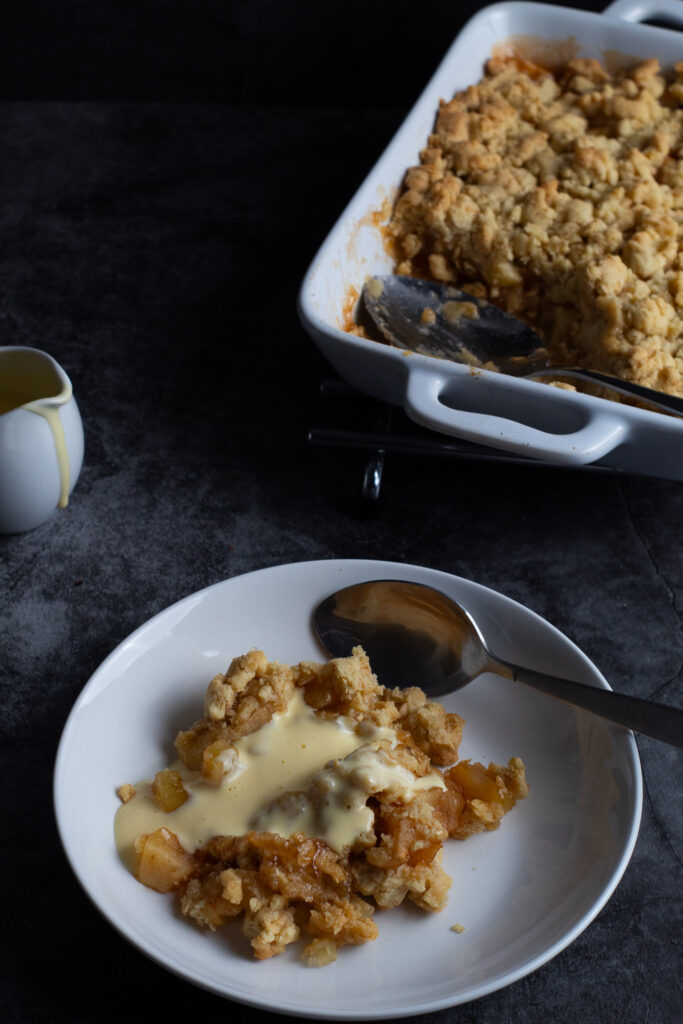
A Classic, Comforting Dessert with a Velvety Custard
There’s something magical about the aroma of cinnamon-spiced apples bubbling away in the oven. For me, apple crumble with custard is more than just dessert—it’s a nostalgic taste of childhood. My grandmother had a secret trick for the perfect crumble, and after years of trial and error, I’ve perfected a foolproof method to get a crisp, golden topping and the silkiest vanilla custard every single time. If you’ve ever struggled with a soggy topping, overbaked apples, or runny custard, don’t worry—I’ve got you covered! Let’s dive into this ultimate classic apple dessert guide
Why You’ll Love This Recipe
Apples are available all year round – no need to wait for fall!
Perfect comfort food – warm, buttery, and spiced just right.
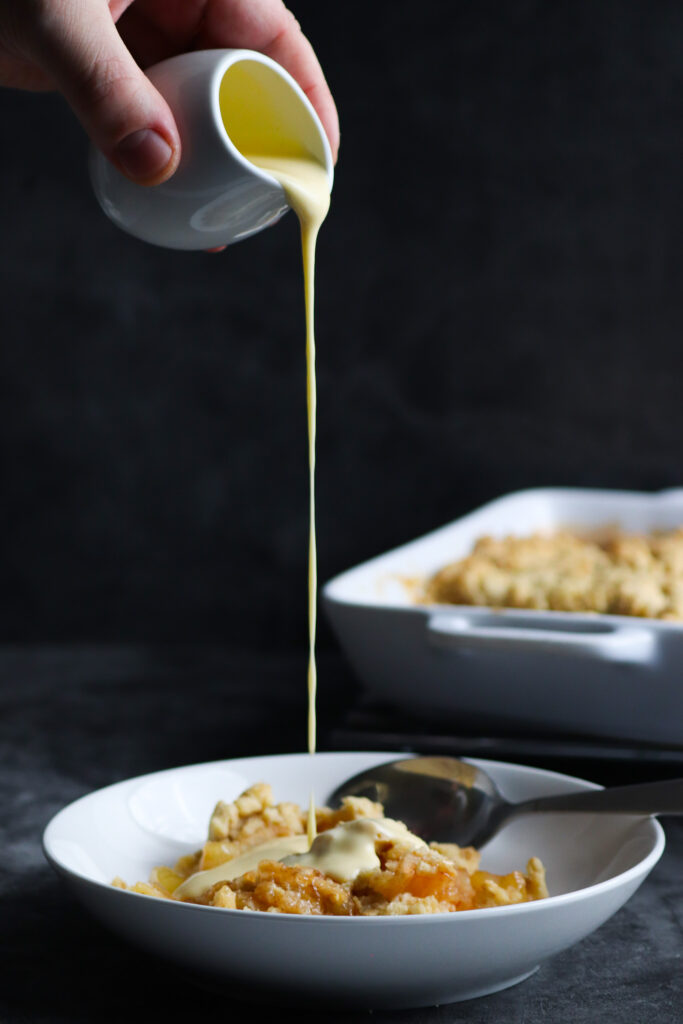
Served with homemade vanilla custard – because store-bought just doesn’t compare!
Easy to make at home – simple ingredients, minimal effort, maximum flavor.
Find more ideas in my Easy Dessert Recipes collection
Must-Have Tools for the Perfect Apple Crumble & Custard
Before you start, make sure you have these kitchen essentials:
Baking Dish – A 9×9-inch or 9×13-inch dish works best.
Mixing Bowls – One for the crumble, one for the apple filling.
Measuring Cups & Spoons – Accuracy is key!
Whisk & Wooden Spoon – For mixing and stirring the custard.
Saucepan – To make that silky-smooth vanilla custard.
Best Apples for Crumble: Which Varieties Work & Why
The type of apple you use makes a big difference in flavor and texture:
✔ Best for Baking – Cooking apples like Bramley, Granny Smith, or Braeburn hold their shape well and balance tartness & sweetness.
✔ Prevent Browning – Toss chopped apples in lemon juice to keep them fresh and bright.
Step-by-Step Guide: Perfect Apple Crumble & Homemade Custard
Step 1: Make the Crumble Topping
1️⃣ In a bowl, mix flour, oats, and brown sugar.
2️⃣ Melt the butter and stir it into the dry mixture until clumps form.
3️⃣ Chill the mixture in the fridge while preparing the apples (this keeps it crispy!).
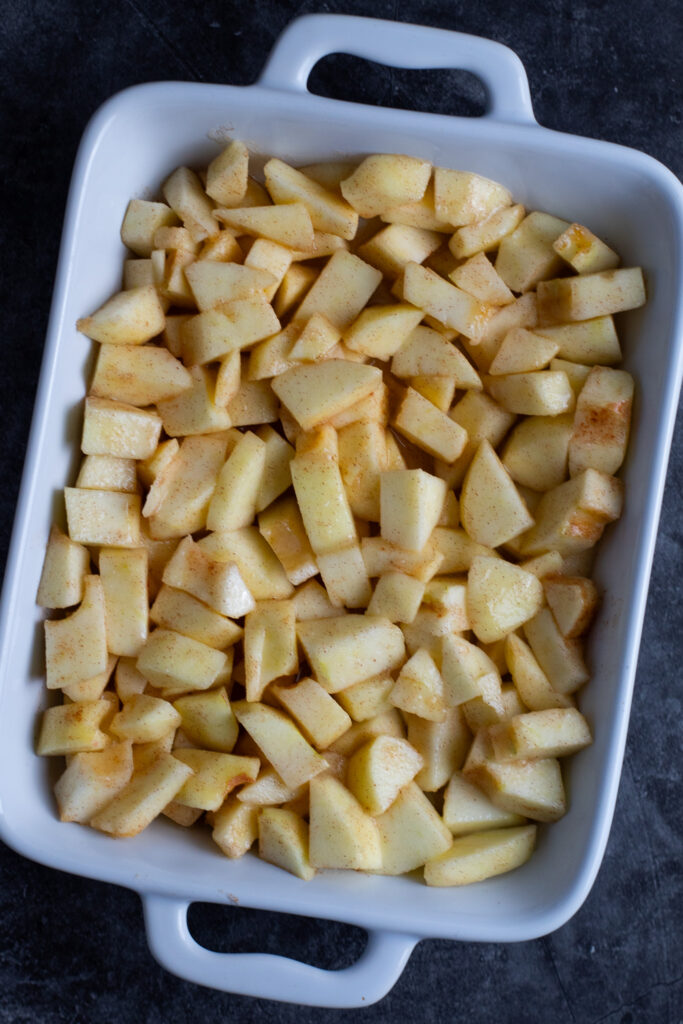
Step 2: Prepare the Apple Filling
1️⃣ Peel, core, and dice the apples into small chunks.
2️⃣ Toss them with sugar, cinnamon, cornstarch, and a pinch of salt.
3️⃣ Spread the apples evenly in a greased baking dish.
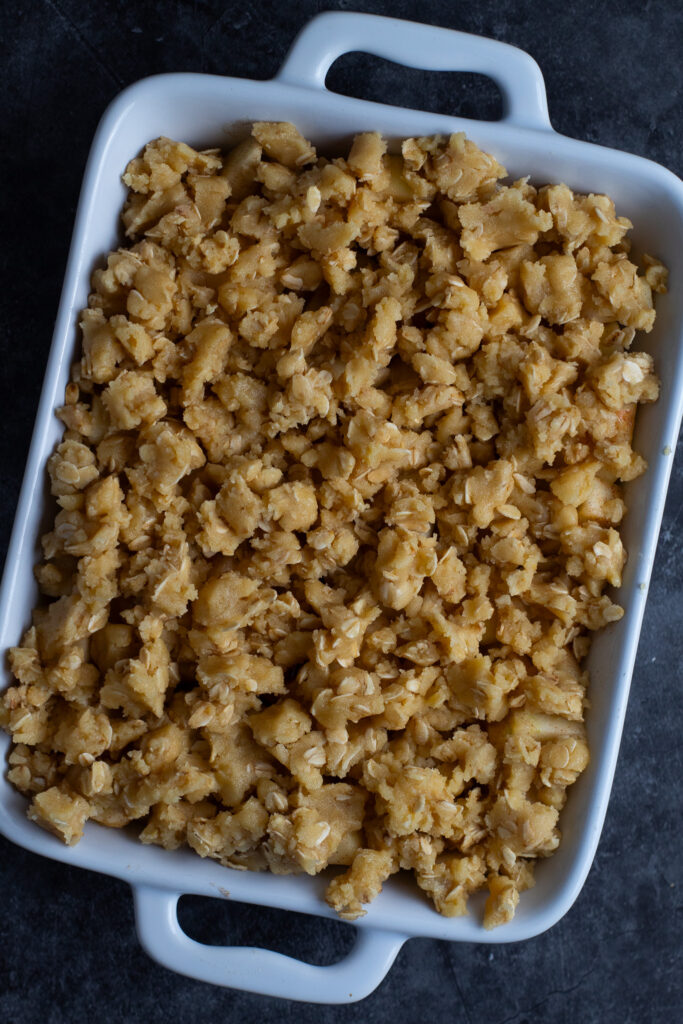
Step 3: Assemble & Bake
1️⃣ Sprinkle the chilled crumble topping evenly over the apples.
2️⃣ Bake at 200°C (390°F) for 35-40 minutes, until golden brown and bubbling.
3️⃣ Let it cool for 10 minutes before serving (trust me, it’s worth the wait!).
How to Make the Silkiest Vanilla Custard
Step-by-Step Guide to Homemade Custard
1️⃣ Heat cream, milk, and vanilla extract in a saucepan over low heat (don’t boil!).
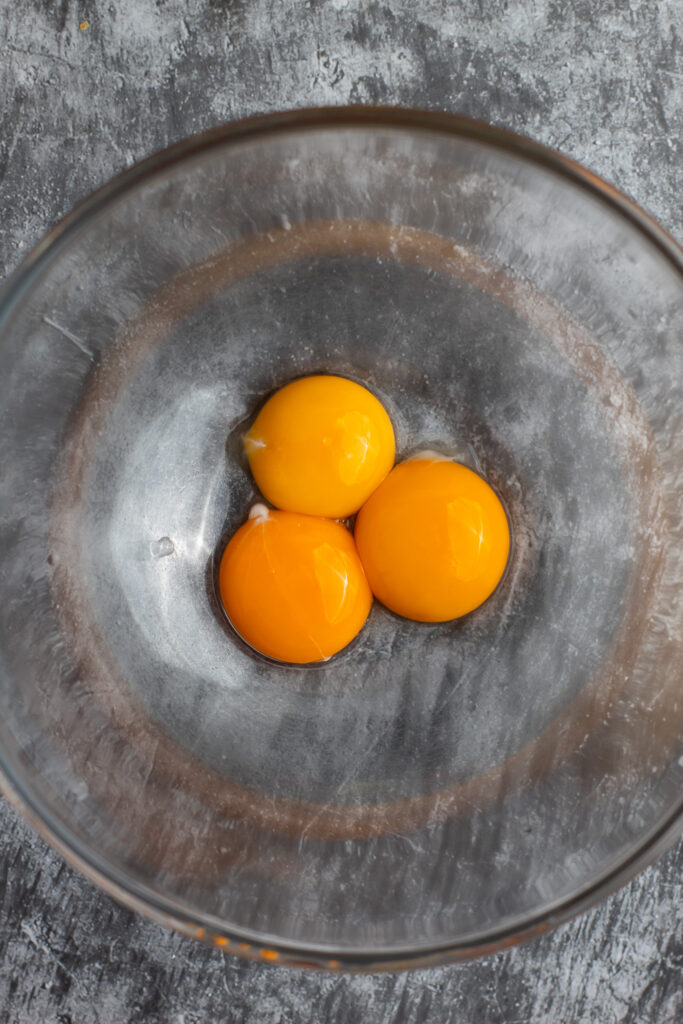
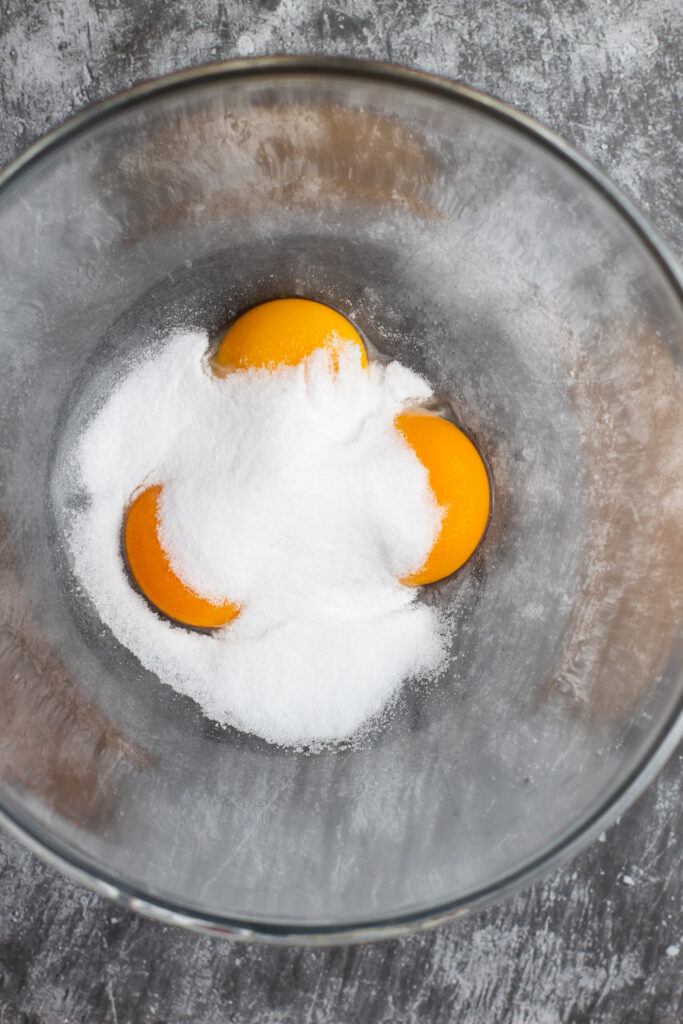
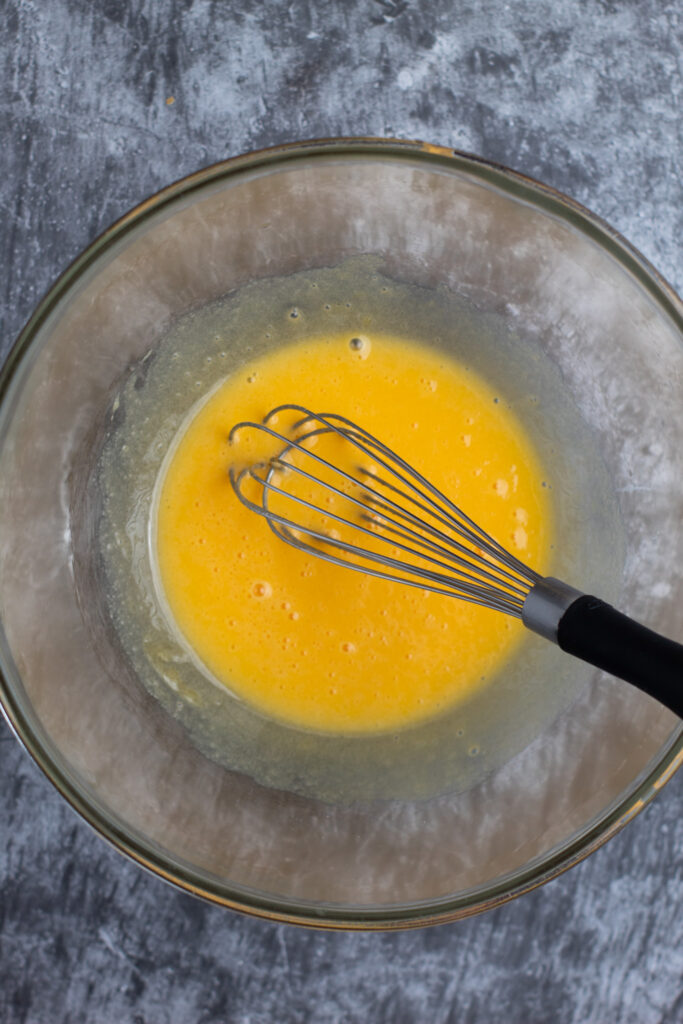
2️⃣ In a bowl, whisk egg yolks, sugar, and cornstarch until smooth.
3️⃣ Slowly pour the hot milk mixture into the egg yolks, whisking constantly.
4️⃣ Pour back into the saucepan and heat gently, stirring until thickened (5-8 mins).
5️⃣ Strain through a fine-mesh sieve for an ultra-smooth custard.
💡 Pro Tip: Keep the heat low and stir constantly to avoid scrambled eggs!
Recipe Variations & Dietary Options
Gluten-Free Version – Swap plain flour for a gluten-free blend and use gluten-free oats.
Vegan Option – Use coconut oil instead of butter, and almond milk + cornstarch for custard.
Seasonal Twists – Try adding cranberries, pecans, or nutmeg for a festive touch!
Avoid These Apple Crumble & Custard Mistakes (Easy Fixes!)
🔸 Soggy crumble?
A soggy crumble happens when there’s too much moisture from the apples or if the butter in the topping melts too soon. Here’s how to fix it:
✅ Chill the crumble topping before baking—this solidifies the butter, creating a crunchier texture.
✅ Use a high-pectin apple (like Granny Smith or Bramley) to prevent excess liquid.
✅ Sprinkle 1 tbsp of cornstarch over the apples before adding the topping—this absorbs moisture without affecting taste.
🔸 Overbaked apples?
✅ Use firm apples and bake just until tender.
🔸 Custard too thin?
Thin custard is usually caused by not cooking it long enough or not using enough thickening agents.
✅ Low & Slow Wins – Keep the heat on low and stir continuously to prevent scrambling.
✅ Check for Coating – The custard is ready when it coats the back of a spoon and leaves a clean line when you run your finger through it.
✅ Thicken Instantly – If your custard is too thin, whisk in ½ teaspoon of cornstarch dissolved in 1 tablespoon of milk, then heat gently until thickened
🔸 Dry crumble topping?
✅ Use melted butter and make sure there’s enough sugar for the right texture.
FAQ’s
Place the pre-made crumble topping into the fridge to allow it to cool before cooking. This will help it stay crisp and not get soggy. You can also try pre-cooking the crumble for an even crispier crumble topping.
This dessert is reheated very well. Either microwave or cover and place in an oven at 180°C until heated through. Reheat the cold custard gently on the hob, stirring until hot.
Yes you can freeze any leftovers, covered in the freezer for upto 3 months. The custard is best made fresh.
Yes, once it has cooled and there is any left, cover it and keep in the fridge for upto 3 days.
A good rule of thumb is to try and stick to a ratio of 2:1:1 of flour to butter to sugar. I include more butter as I like a rich crumble.
If you are rubbing in the butter to the flour, it is easy to overwork it. You need to see bits of butter for a nice crispy crumble. This is why I like to use melted butter, this creates a rough textured crunchy crumble.
It is a personal choice, but I wouldn’t eat it straight from the oven as the boiling fruit will be far too hot. Let it cool for around 10 minutes first. I like my crumble when it is just nice and warm with hot custard, although I have been known to eat leftovers cold from the fridge!
You could use it in a pinch but the crumble might be a little cakey in texture. Plain is best if you have it.
The lemon juice acts as an antioxidant and helps to stop the apples from turning brown
Depends on who answers the question! My understanding is they are very similar but apple crisp tends to have nuts in the topping, whereas crumble has oats.
Try These Next!
🍰 Easy Vanilla Traybake – A simple yet delicious sponge cake!
🥧 No-Bake Lemon Curd Tart – Perfect for citrus lovers!
☕ Moist Coffee & Walnut Cake – A coffee lover’s dream!
Did You Try This Recipe? I’d Love to Hear From You! 🍎
- What apples did you use?
- Did you try a special twist—maybe a caramel drizzle or a nutty topping?
- What’s your go-to crumble-to-custard ratio?
Drop a comment below and share your experience! Your feedback helps fellow home bakers perfect their apple crumble game. ⭐⭐⭐⭐⭐

The Best Apple Crumble and Custard
Ingredients
- For the custard
- 200 ml double cream
- 100 ml whole milk
- 3 egg yolks
- 3 tbsp sugar
- 1 tsp vanilla extract
- Pinch of salt
- Apple filling
- 4 pink lady apples
- 60 g caster sugar
- Pinch of salt
- 1 tbsp cornstarch
- ½ tsp cinnamon
- Crumble Topping
- 165 g plain flour
- 60 g jumbo oats
- 75 g soft brown sugar
- 135 g unsalted butter
Instructions
- Begin by making the crumble – measure out all the dry ingredients and mix well
- Melt the butter in a saucepan over medium heat until fully melted then add to the dry mixture
- Mix well until the crumble clumps togethor. Place in the fridge to cool until ready to assemble
- Preheat the oven to 200℃
- Peel and core the apples
- Dice into small chunks then toss together with the sugar, cinnamon and cornflour
- Line a 10" x 8" dish with the apples, then crumble the cooled crumble topping over the apples evenly
- Cook for 35-40 minutes until the fruit is bubbling underneath and the top is golden and crisp. Let cool for 10 minutes before serving.
- To make the custard – in a saucepan, place the cream and milk on a medium high heat until it starts to bubble at the edges
- Whisk together the egg yolks and the sugar until pale
- Add the hot cream and milk mixture, in thirds whilst continually whisking
- Palce the mixture back on the heat in the same saucepan, adding the vanilla and whisk contiuously until thickened
- Pour the fresh custard over the apple crumble and enjoy!

Hi, I’m Paul! I’m a passionate home chef, recipe developer, and food lover who believes that cooking should be fun, rewarding, and stress-free! Through Scoffs & Feasts, I share my favorite tried-and-tested recipes, cooking tips, and troubleshooting advice to help home cooks gain confidence in the kitchen. Whether you’re a beginner or an experienced foodie, I hope my recipes inspire you to try something new.