
A crisp, buttery pastry case filled with a silky lemon curd that’s cooked gently on the hob rather than in the oven, then left to set in the fridge. No baked filling means no cracked top, which is the whole reason I make it this way. It takes about 40 minutes of hands-on time and 4 hours in the fridge.
Updated on 29th September 2026 with my own notes on getting the curd right, a shortcut for harder days, and clearer storage and freezing advice.
This post contains affiliate links. If you buy through them I may earn a small commission, at no extra cost to you. As an Amazon Associate I earn from qualifying purchases.
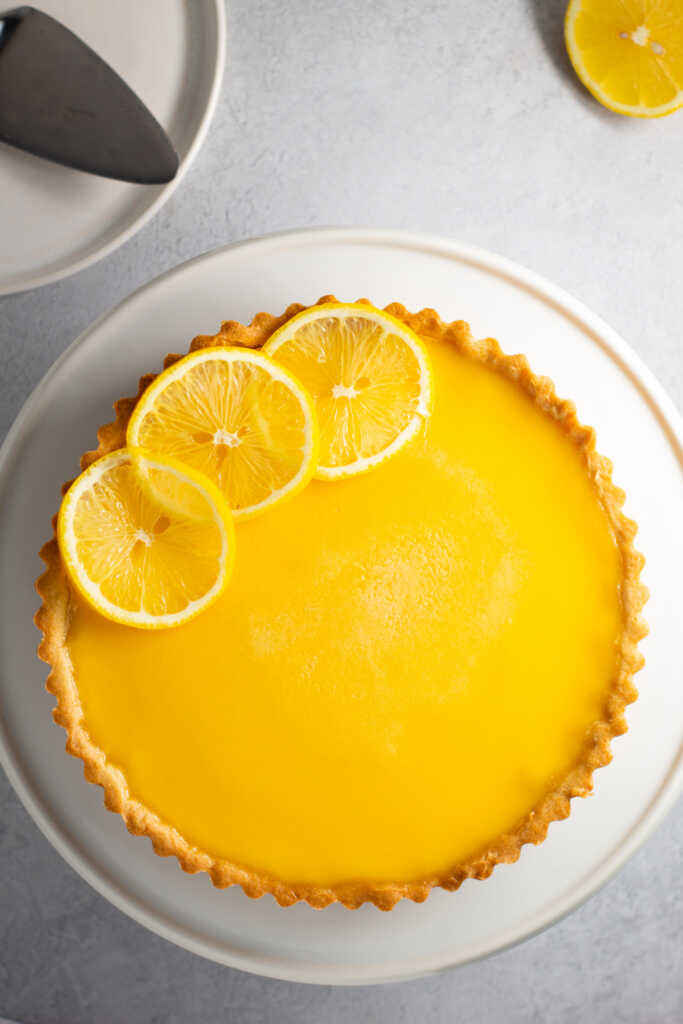
Why You’ll Love This No-Bake Lemon Curd Tart
- No cracked filling. The curd sets in the fridge, so nothing can go wrong in the oven at the last minute.
- Sharp and creamy at once: fresh lemon against double cream and butter.
- Better made the day before, so it’s ready when you want it.
- A handful of ingredients: lemons, eggs, sugar, cream and butter.
From My Kitchen
I usually make my lemon curd tart on a Sunday. I live alone, so it’s usually all for me, which can sometimes be a challenge to get through!
I went no-bake because it’s less stressful and more rewarding. When you’re dealing with anxiety and OCD whilst cooking, you put all the effort in, and if it fails at the end, it can be really discouraging. With a baked lemon tart, the big thing is cooling it down gently and not overcooking it, so you don’t end up with a cracked filling that ruins the whole tart. That’s the main reason I went no-bake, and it’s just all-round easier.
It sits alongside the rest of my easy no-bake desserts, if you want more like it.
What This One Asks Of You
- About 40 minutes of hands-on time, plus the case if you’re making your own, then at least 4 hours in the fridge.
- Around 20 minutes of gentle stirring over barely simmering water. You can’t rush it, but it’s calm work.
- A saucepan, a heatproof bowl, a whisk, a sieve and a 9-inch loose-bottomed tart tin. Add a food processor if you’re making the pastry.
- Fresh lemons. Bottled juice won’t give you a great-tasting tart.
- On a harder day, a good-quality shop-bought case keeps it simple.
Tools You’ll Need
- I press the base into this loose-bottom tart tin I use at home — it releases perfectly every time. If you’ve ever had a base stick to the pan, this tin is a game-changer.
- Chefs knife
- Sieve
- Pyrex glass bowls
- Pyrex measuring jugs
- Balloon Whisk
- A food processor, if you’re making your own pastry case
Ingredient Notes
- Lemons: always fresh. You’ll need 2 to 3 large lemons for 100ml of juice, plus the zest of one. Bottled lemon juice won’t give you a great-tasting tart.
- Eggs: 4 whole eggs plus 1 yolk. They’re what thickens the curd and makes it set.
- Double cream: makes the curd rich and smooth, and softens the sharpness of the lemon.
- Caster sugar and a pinch of sea salt: the salt sharpens the lemon flavour.
- Vanilla extract: just a teaspoon, to round the lemon out.
- Unsalted butter: cold and cubed, whisked in off the heat at the end for a glossy finish.
- The case: a 9-inch pastry case. I make mine with my pâte sablée recipe, but a good-quality shop-bought case works too.
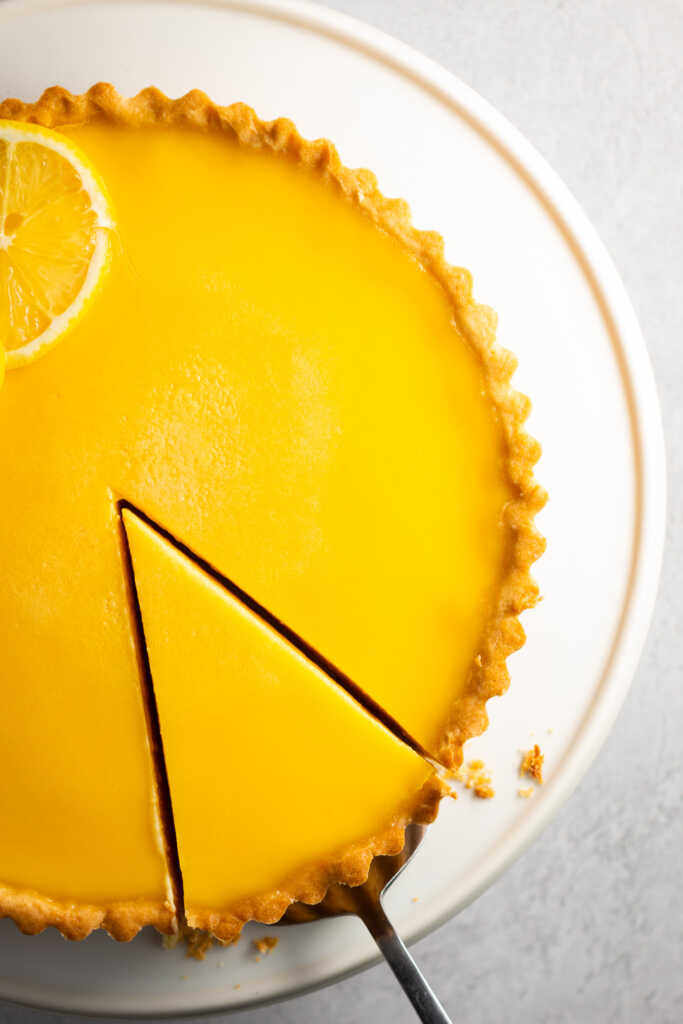
How To Make No-Bake Lemon Curd Tart
- Make and blind-bake your pastry case (or unwrap a shop-bought one) and let it cool completely.
- Set a heatproof bowl over a pan of water on a low heat. The water should be barely simmering, and the bottom of the bowl shouldn’t touch it.
- Whisk the eggs, extra yolk, sugar and salt together until pale and the sugar has dissolved.
- Add the lemon juice, zest, double cream and vanilla, and whisk gently to combine.
- Set the bowl over the pan and stir gently and constantly for around 20 minutes, until the curd thickens enough to coat the back of a spoon and hold a line drawn through it with your finger. Don’t turn the heat up to speed it along.
- Take the bowl off the heat and whisk in the cold butter a few cubes at a time until it’s smooth and glossy.
- Pour the curd through a sieve into a jug to catch the zest and any lumps, let it cool slightly, then pour it into the cold case.
- Chill for at least 4 hours, or ideally overnight, before slicing. It’s set when the centre no longer wobbles if you gently nudge the tin.
Making Your Own Case
I prefer to make my own case because I think it’s superior in flavour, and I think it’s a skill every cook needs to know. I speed it up, though: I use my food processor to cut the butter into the flour. It’s less messy than doing it by hand, but if you find it therapeutic to do it by hand, by all means do it if it helps.
When I first started making it, my case used to shrink, which was frustrating, because it then couldn’t hold all the filling.
The fix is to chill the lined tin before it goes in the oven, so the butter firms up and the pastry holds its shape. My step-by-step pâte sablée guide walks through the whole case, and if you’d rather do it by hand there’s my guide to making pastry without a food processor.
Tips From My Kitchen
- It’s a class in patience. Don’t try to heat the curd quicker, or you’ll scramble it. Take your time and try to enjoy the process. The gentle stirring is actually quite therapeutic.
- Give it plenty of time to rest in the fridge. It needs that time to cool down properly and for the curd to set.
- Always use fresh lemons.
- Brush the cooled case with a little melted white chocolate before filling. It stops the base going soggy and adds a subtle sweetness.
What Could Go Wrong
- The curd goes grainy. The first time I made it, mine went grainy because I had the heat too high. I was trying to rush it. The next time, I turned the heat down so the water was barely simmering, and it came out smooth.
- The filling leaks everywhere when you cut it. You cut it too soon. Give it the full 4 hours, or overnight.
- The case shrinks. Chill the pastry in the tin before baking, as above.
- The base goes soggy. The curd went into a warm case. Let the case cool completely first.
Variations
- Lime curd tart: swap the lemons for limes and finish with lime zest.
- Passion fruit: replace some of the lemon juice with sieved passion fruit pulp.
- Mini tartlets: use small tart cases for individual servings.
- Biscuit base: skip the pastry altogether. Blitz 250g digestives or gingernuts with 100g melted butter, press into the tin and chill for 30 minutes before adding the curd. Gingernuts give it a warming twist.
Serving Suggestions
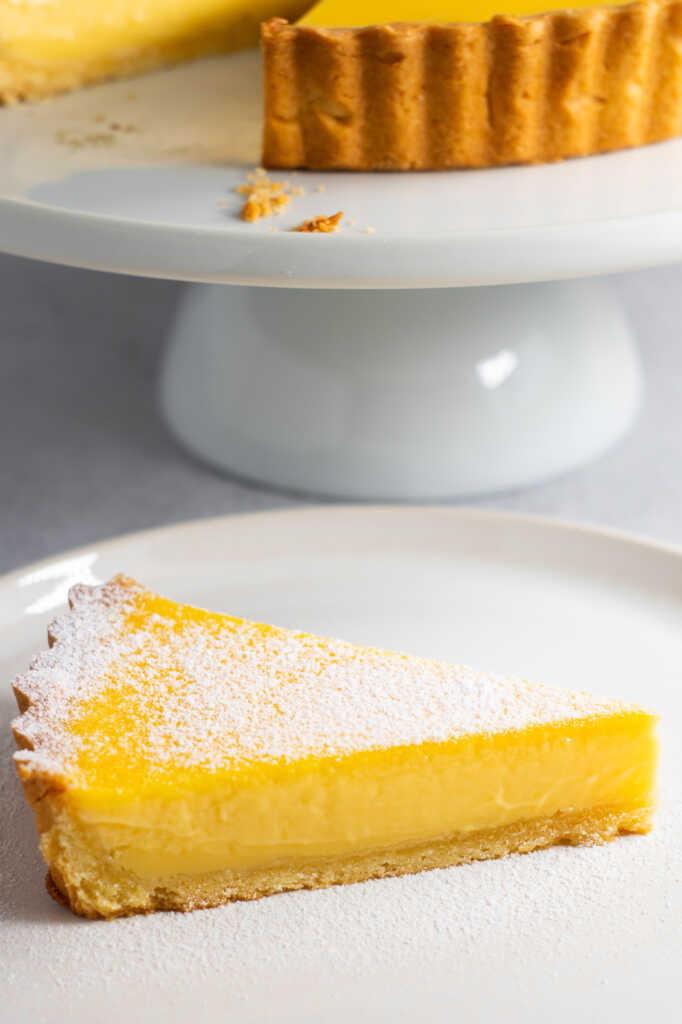
Honestly, it’s great with just a light dusting of icing sugar. It still looks fantastic. If I’m treating myself, I’ll add some Chantilly cream on top or drizzle over melted chocolate, and if I happen to have fresh strawberries or other berries in, they go on top too.
For clean slices, dip a sharp knife in hot water, wipe it dry, and repeat between every cut.
Fancy something richer? Try my French chocolate tart or my chocolate pots de crème.
Storage & Freezing
- In the fridge: keep it covered in an airtight container for up to 3 days, away from strong smells like onion and garlic.
- To freeze: let it set fully, then cut it into slices. If you’re eating it on your own, freezing it in slices means you’re not racing to finish it.
- Freeze the slices on a lined tray until solid, then wrap each one and pack them into a labelled freezer bag. They keep for up to 2 months.
- To defrost: thaw in the fridge overnight, then dust with icing sugar before serving.

FAQs
Lemon Tart curdling is a common problem. If your tart curdles or goes grainy then you have overheated/overcooked your eggs when making the lemon curd. It’s important to cook the eggs at a relatively low and slow pace to prevent this from happening. Make sure you do not boil the lemon curd mixture when cooking and if you want to use a thermometer, the ideal temperature is 77°C (170°F).
Ideally, you want to keep your lemon tart cool to keep it safe to eat. If it has been kept out of the fridge for up to 2 hours, depending on how hot the temperature is, it will be safe to eat. After 2 hours, it is best to ensure the tart stays fresh by refrigerating to prevent bacterial growth.
Lemon tart can be made in advance and can help with flavour development. Make the tart and keep it in the fridge in an airtight container the day before will allow the flavours to meld and a more intense flavoured tart.
Yes, if you don’t have cream this can be a good substitute. It will make the tart richer in flavour and creamier when making the lemon curd.
The filling is no-bake, but the pâte sablée base is lightly baked for that crisp, buttery texture. It’s the perfect balance of structure and simplicity.
Absolutely! Choose a thick, good-quality jar — the flavour really shines through here.
Up to 3 days in the fridge, covered tightly. The pâte sablée stays crisp thanks to the light bake.
Yes, freeze whole or in slices for up to 2 months. Defrost in the fridge overnight before serving.
Definitely — press the pâte sablée into mini tins, blind-bake briefly, then fill and chill as normal.
Yes, use a gluten-free shortcrust mix for the pâte sablée — the rest of the recipe is naturally gluten-free.
Try My Other Recipes
Find more ideas in my Easy Dessert Recipes collection.
- Simple 5 Ingredient No Bake Cheesecake
- How To Make Pâte Sablée
- Mini Apple Crumble Tarts
- Caramelised Banana Tart
- Easy Coffee Crumble Ice Cream
Got a sweet tooth? Get my latest no-bake desserts, tarts and sweet treats straight from my kitchen to your inbox.

No-Bake Lemon Curd Tart (Zingy • Creamy • Biscuity Base!)
Equipment
- 1 9 inch fluted tart tin
- 1 wooden spoon
- 1 saucepan
- 1 heatproof glass mixing bowl
- 1 chefs knife
- 1 whisk
- 1 sieve
Ingredients
- 1 Shortcrust Tart base
- 100 ml fresh lemon juice juice of 2-3 large lemons
- 4 whole eggs plus 1 yolk
- Pinch of sea salt
- 140 g sugar
- 150 ml double cream
- Teaspoon of vanilla extract
- 100 g unsalted butter
Instructions
- Make the filling by halving and juicing the lemons until you have 100ml of juice and the zest of 1 lemon
- Whisk the eggs and sugar and salt together until well combined and the sugar is dissolved
- Add the lemon juice, zest, double cream and vanilla extract and whisk gently to combine
- Place bowl over a pan of gently simmering water and whisk continously until thickened and the mixture coats the back of a spoon. Around 20 minutes.
- Remove from the heat and whisk in the cubed butter, a few cubes at a time until fully incorporated
- Pour through a sieve into a jug and let cool slightly before filling a 9-inch tart shell
- Chill for 4 hours or until set
🛒 Shop the Recipe
Make this No Bake Lemon Curd Tart just like I do:
- Tala 23cm fluted tart tin
- OXO balloon whisk
- KitchenCraft 18cm sieve
- Pyrex glass mixing bowls
- Pyrex glass measuring jugs
- Stellar 16cm non-stick saucepan

As an Amazon Associate, I earn from qualifying purchases.
Want to make your lemon tart turn out exactly like mine? Here are the tools I use:

Hi, I’m Paul, a cook and aspiring chef living with OCD, anxiety and depression. Scoffs & Feasts is where I share the low-effort meals that get me through the heavy days, and the bigger cooks that quiet my mind on the better ones. No perfect kitchens here. Let’s cook through the noise together.