Ever struggled with a tart crust that shrinks, cracks, or turns out too tough? You’re not alone! I’ve tested this recipe countless times to perfect the art of making Pâte Sablée—a delicate, buttery shortcrust pastry staple in French baking. In this guide, I’ll walk you through a foolproof step-by-step method, highlight the most common mistakes (and how to fix them), and share my best expert tips so you can achieve a flawless tart crust every time!
Quick Facts:
- Prep Time: 15 minutes
- Chill Time: 2 hour
- Cook Time: 1 hour
- Total Time: 3 hours 15 minutes
- Skill Level: Beginner-Friendly
- Yield: 1 (9-inch) tart crust
A Brief History and Cultural Background of Pâte Sablée
Pâte Sablée, meaning “sandy dough” in French, is a classic shortcrust pastry that dates back to traditional French pâtisserie. Its origins can be traced to the 17th century, when French pastry chefs refined the art of sweet crusts to create delicate, buttery bases for tarts and desserts.
Unlike the flaky Pâte Brisée (used for savory tarts) or the crisp Pâte Sucrée (sweet pastry dough), Pâte Sablée has a uniquely tender, crumbly texture, thanks to the high butter content and low gluten development. This makes it a staple in French baking, used in fruit tarts (tarte aux fraises), lemon tarts (tarte au citron), chocolate tarts, and petits fours.
French pastry chefs have long considered Pâte Sablée the gold standard for dessert tarts, as it provides a delicate, melt-in-the-mouth contrast to rich fillings like ganache, curd, and pastry cream. Today, it remains a foundation of classic French pâtisserie.
💡 Fun Fact: The sablage (or “sand mixing”) method used to make Pâte Sablée was once done entirely by hand, using only fingertips to rub the butter into the flour. This ensured a tender pastry by keeping the butter cool and preventing excess gluten formation.
Why I Love Making Paté Sablée
The first time I attempted Paté Sablée, I didn’t chill the dough properly, and it shrunk into a sad, buttery mess. 😩 After countless trials (and many imperfect tarts), I finally discovered the best techniques for a perfectly crisp and tender crust.
This guide is not just a recipe—it’s everything I’ve learned about Paté Sablée, so you can avoid my mistakes and achieve pastry perfection from your very first try!
Let’s get started.
Quick Start Guide: Pâte Sablée in 5 Steps
Prep: Gather flour, butter, sugar, egg yolk, and a pinch of salt. Use cold butter for the best texture.
Rub the butter into flour (sablage method) until it looks like wet sand (you can also use a food processor)
Add the egg yolk and just enough water until the dough comes together.
Chill the dough (at least 1 hour) before rolling it out and lining a tart tin.
Blind bake with sugar or pie weights at 140°C (285°F) for 1 hour.
Want to skip the detailed explanations? Jump straight to the recipe below!
What Is Paté Sablée?
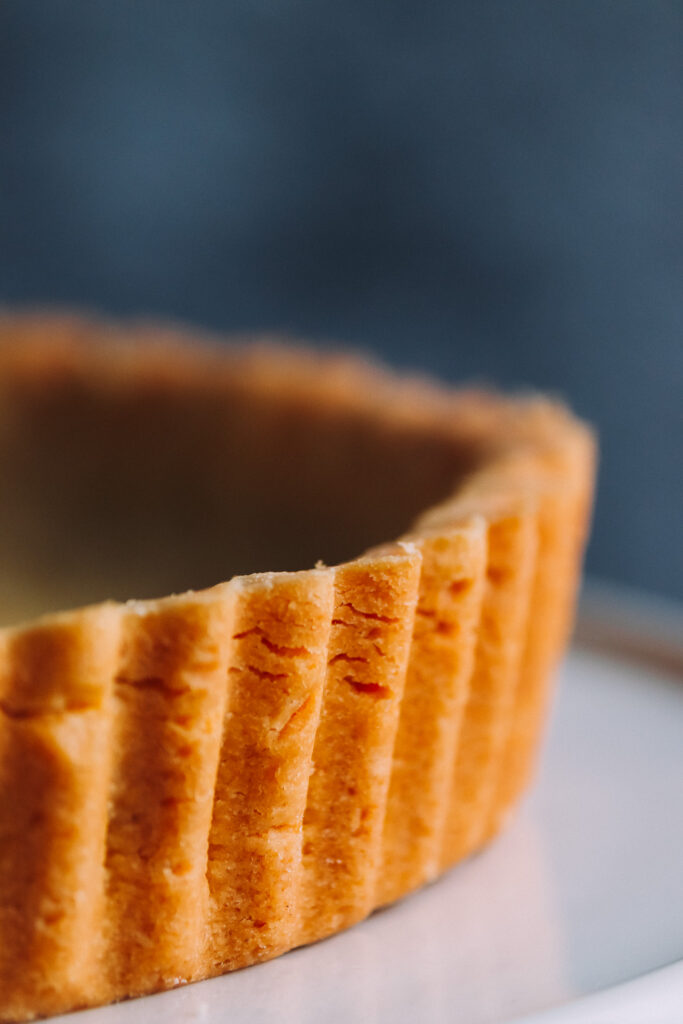
Paté Sablée (pronounced paht sah-BLAY) is a classic French sweet shortcrust pastry with a delicate, sandy texture. The name sablée means “sandy” in French, referring to the crumbly consistency of the dough.
Unlike standard pie crusts, Paté Sablée is richer, more buttery, and slightly crumbly, making it ideal for:
Fruit tarts (like classic French tarte aux fraises)
Lemon tarts (tarte au citron) – try my lemon tart its delicious and no bake!
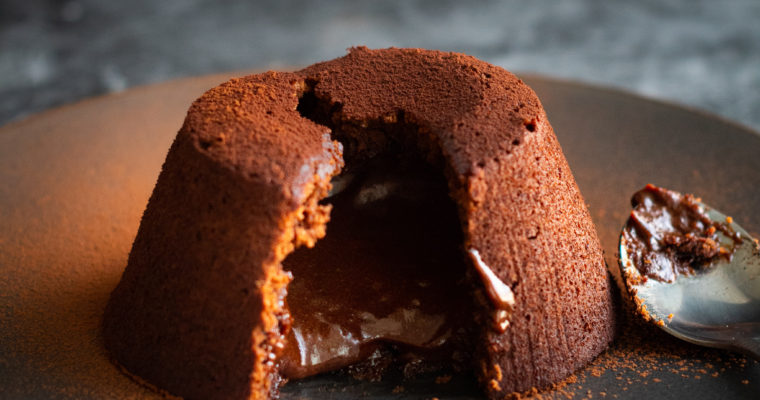
Chocolate ganache tarts – Love chocolate? You can use this exact Pâte Sablée crust for my French Chocolate Ganache Tart, which has a silky, rich filling that pairs beautifully with this buttery base
Mini tartlets & dessert bases – try these little apple crumble tartlets!
How to Make Perfect Pâte Sablée (The Secret to a Buttery Crust)
The key to a perfect Paté Sablée? Chilling and minimal handling!
💡 Quick Tip: Always chill the dough before rolling and baking. This prevents shrinking and ensures a crisp, delicate crust.
Ingredients You’ll Need
(Metric & cup conversions included!)
| Ingredient | Metric | US Cups |
|---|---|---|
| Plain flour | 200g | 1 ⅔ cups |
| Unsalted butter (cold, cubed) | 125g | ½ cup + 1 tbsp |
| Icing sugar | 75g | ⅔ cup |
| Egg yolk | 1 large | – |
| Salt | Pinch | – |
| Cold water | 1-2 tbsp | – |
💡 Why Use Unsalted Butter? It lets you control the salt content for the perfect balance of flavors. If using salted butter, omit the extra pinch of salt.
Step-by-Step: How to Make Paté Sablée
Combine Dry Ingredients
In a large mixing bowl, whisk together flour, icing sugar, and salt.
Incorporate the Butter (Sablage Method)
Cut the cold butter into small cubes and add it to the flour mixture. Using your fingertips or a pastry cutter, rub the butter into the flour until it resembles wet sand.
🔹 Why the Sablage Method? This prevents gluten formation, ensuring a tender, crumbly crust.
Add Egg Yolk & Water
Stir in 1 egg yolk and 1 tbsp cold water. Mix gently until the dough starts to come together. If needed, add another tbsp of water.
💡 Pro Tip: Squeeze a small piece of dough between your fingers. If it holds together, it’s ready!
💡 Pro Tip: This dough can be made super quick in a food processor with the blade attachment. Add all the ingredients and pulse until the dough comes together in a nice neat ball of dough – no sticky messy fingers!
Shape & Chill
Form the dough into a flat disc, wrap it in plastic, and chill for at least 1 hour.
Roll & Line Tart Tin
- Roll out the chilled dough to ¼ inch thick on a lightly floured surface.
- Carefully transfer it to a 9-inch tart pan using the rolling pin, pressing it gently into the edges.
- Trim excess dough and prick the base lightly with a fork.
🔹 Why Chill Again? This step helps prevent shrinkage during baking.
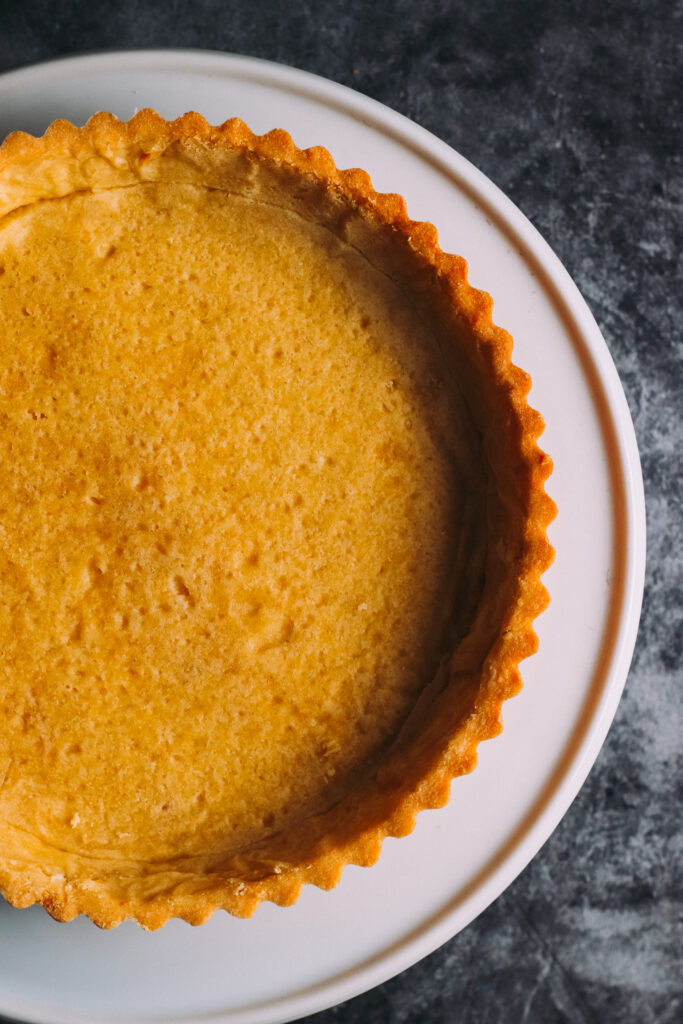
Blind Bake the Crust
- Preheat the oven to 140°C (285°F).
- Line the pastry with tinfoil and fill with sugar or pie weights.
- Bake for 1 hour until lightly golden.
- Remove foil and weights, then cool completely before using.
💡 Best Blind Baking Hack: Instead of pie weights, use granulated sugar! It spreads evenly, preventing air pockets and shrinking. Want to know why sugar is the best alternative to pie weights? Read this Serious Eats article on the science of blind baking
Avoid These 3 Common Pâte Sablée Mistakes (And Fixes!)
🔻 Why did my dough crack when rolling?
👉 Cause: The dough is too dry or wasn’t rested enough.
💡 Fix: Press cracks together gently. If it keeps breaking, knead in a few drops of cold water to improve elasticity. Always chill for at least an hour to hydrate the flour properly before rolling.
🔻 Why does my pastry shrink in the oven?
👉 Cause: The gluten was activated too much, or the dough wasn’t properly rested before baking.
💡 Fix: Always chill the dough twice—once after mixing and again after rolling it into the tart tin. Use a low baking temperature (140°C / 285°F) and pie weights to prevent shrinkage.
🔻 Why is my dough too soft or sticky?
👉 Cause: The butter melted while mixing, or the kitchen was too warm.
💡 Fix: Work quickly with cold hands or use a food processor to keep everything cool. If the dough feels sticky, refrigerate for 15-30 minutes before handling.
📌 Pro Tip: Want a crispier tart shell? Bake it for an extra 5 minutes without the weights until golden brown!
Pâte Sablée vs. Pâte Sucrée vs. Pâte Brisée: Which One to Use?
| Type | Texture | Best For |
|---|---|---|
| Pâte Sablée | Buttery, crumbly | Sweet tarts & cookies |
| Pâte Sucrée | Crisp, tender | Pie crusts & pastries |
| Pâte Brisée | Flaky, neutral | Savory quiches & tarts |
Dietary Modifications & Substitutions
Want to make Pâte Sablée gluten-free or dairy-free? Try these swaps!
- Gluten-Free Option: Replace plain flour with a 1:1 gluten-free flour blend
- Dairy-Free Version: Swap butter for vegan butter or solid coconut oil for a slightly different texture.
- Sugar-Free Alternative: Use a powdered sugar substitute (like Swerve or monk fruit sweetener) to reduce sugar content.
💡 Note: Different ingredients may slightly affect the dough’s texture, so always test a small batch first!
Storage & Freezing Tips
To Store: Wrap dough tightly and refrigerate for up to 3 days.
To Freeze: Freeze raw dough for up to 3 months. Thaw overnight before rolling.
Creative Variations
🎨 Want to get creative? Try these variations!
- Almond Pâte Sablée: Add 2 tbsp almond flour for extra nuttiness.
- Chocolate Pâte Sablée: Replace 20g flour with cocoa powder for a chocolatey crust.
- Vanilla Bean Pâte Sablée: Add ½ tsp vanilla bean paste for a rich aroma.
FAQ’s
Yes! A food processor makes it even easier—just pulse the dry ingredients and butter until the mixture resembles wet sand, then add the egg yolk and water. A stand mixer with a paddle attachment works too, but mix on low speed to avoid overworking the dough.
Cracking usually happens when the dough is too dry or wasn’t chilled long enough. To fix it:
✔️ Let the dough rest at room temperature for 5-10 minutes before rolling.
✔️ If cracks appear, press them gently together or knead in a few drops of cold water.
Shrinkage happens when gluten is overdeveloped or the dough wasn’t properly rested. To prevent it:
✔️ Chill the dough twice—once after making it and again after lining the tart tin.
✔️ Use a low baking temperature (140°C / 285°F) and blind bake with weights or sugar
Refrigerate the dough for up to 3 days before rolling.
Freeze the dough (wrapped tightly) for up to 3 months.
Blind bake the crust in advance and store it airtight for up to 2 days before filling.
✔️ Gluten-Free: Use a 1:1 gluten-free flour blend instead of regular flour.
✔️ Dairy-Free: Swap butter for vegan butter or solid coconut oil (though texture may slightly change).
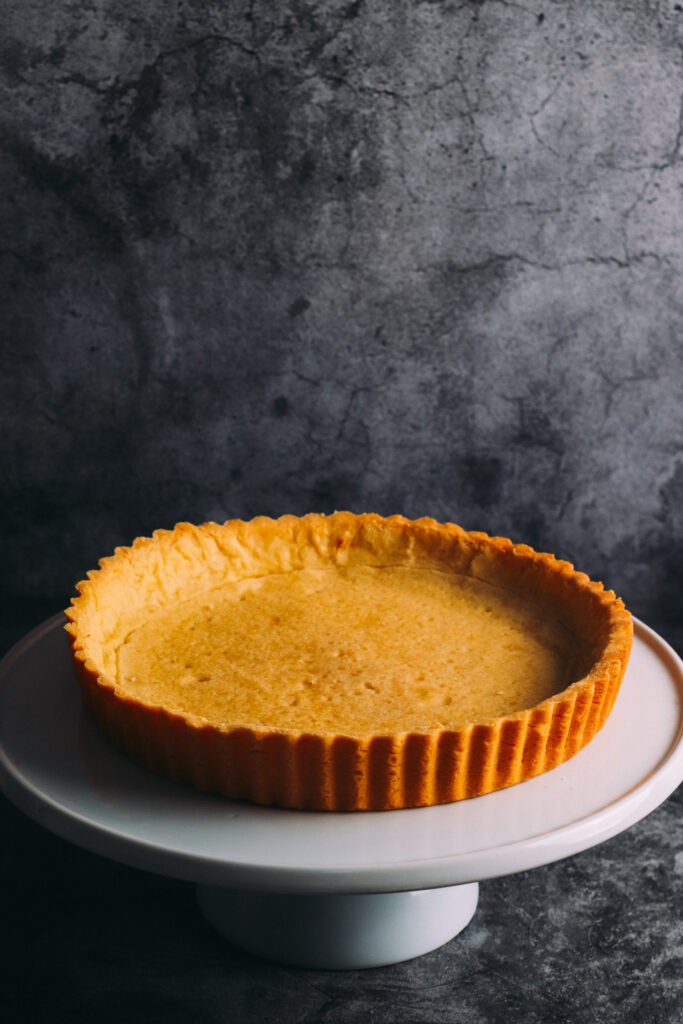
Your Pâte Sablée is done when:
✔️ The edges turn light golden brown.
✔️ The crust feels firm and crisp to the touch.
💡 For a crispier shell, bake it for an extra 5 minutes after removing the weights.
Icing sugar (powdered sugar) gives a more tender texture, but you can use fine granulated sugar in a pinch. Just note that the texture may be slightly less delicate.
Yes! Simply replace 20g of flour with cocoa powder to create a delicious chocolate shortcrust pastry—perfect for chocolate tarts!
At Room Temperature: Store in an airtight container for up to 2 days.
Frozen: Wrap the crust tightly in plastic wrap and freeze for up to 1 month. Thaw before using.
Yes! Roll out the dough, cut into shapes, and bake at 160°C (320°F) for 12-15 minutes for delicious buttery shortbread cookies.
What’s Next? Try These Recipes!
Classic Lemon Tart
Chocolate Ganache Tart
Mini Fruit Tartlets
💬 Have you tried this recipe? Let me know in the comments!
🔖 Save this recipe for later!
Final Thoughts
Mastering pâte sablée is easier than you think with the right techniques! Chill your dough, blind bake properly, and use quality butter—and you’ll have a delicate, buttery crust every time.
👉 Did you find this guide helpful? Drop a comment or share your baking tips below!
How To Make Paté Sablée
Equipment
- 1 Rolling Pin
- 1 9 inch fluted tart pan
- 1 large mixing bowl
- tinfoil
Ingredients
- 200 g plain flour
- 125 g cubed unsalted butter
- 75 g icing sugar
- 1 egg yolk
- Pinch of salt
- 1-2 tbsp water
Instructions
- Add sugar and salt to the flour and gently stir to combine
- Chop butter into 1cm cubes and rub into the flour until it resembles wet sand
- Add egg yolk and 1 tbsp of water at a time and incorporate into the flour, checking if it is ready by squeezing a small amount between your thumb and forefinger, if it holds together, it is ready
- Bring dough together with a quick gntle knead into a flat disc shape
- Once ready, roll out to ¼ inch thick and place in tart tin, ensuring the edges and base all contact the tin, leaving a 1 inch overhang from the tin or removing the excess dough with a rolling pin
- Chill for 2 hours in the fridge before cooking
- When ready to cook, line the pastry with foil and fill with sugar
- Place in a 140℃ preheated oven for 1 hour
- Remove the foil and sugar carefully and let the tart case cool completely before removing from the tart tin and using
Try Another Recipe

Hi, I’m Paul! I’m a passionate home chef, recipe developer, and food lover who believes that cooking should be fun, rewarding, and stress-free! Through Scoffs & Feasts, I share my favorite tried-and-tested recipes, cooking tips, and troubleshooting advice to help home cooks gain confidence in the kitchen. Whether you’re a beginner or an experienced foodie, I hope my recipes inspire you to try something new.