
Searching for the ultimate Nutella Panna Cotta recipe? Discover how to effortlessly create this creamy and delightful dessert at home. Our guide provides step-by-step instructions to blend the classic Italian panna cotta with the taste of Nutella, creating a lusciously smooth consistency with just the right amount of wobble! Perfect for any occasion, you’ll learn everything from the basics to pro tips for a dessert that’s guaranteed to win over your taste buds.
Panna Cotta Is So Easy To Make
If you have never made panna cotta (cooked cream in Italian) before and it looks daunting – trust me it is so simple to make. No water baths or any awkward cooking methods. Just a quick heat on the stove then the rest of the time is refrigeration – perfect for making ahead of time. You will be able to wow your friends with this classy-looking dessert. Panna cotta is so adaptable, and you can use this recipe to experiment with your flavours. Read more tips on panna cotta in this article by How Stuff Works.
For more no bake inspiration, including cheesecakes, tarts and tiramisu, check out my No Bake Desserts hub
Key Takeaways
This dessert is a twist on the classic Italian dessert, combining the smoothness of panna cotta with everyone’s favourite hazelnut spread – Nutella!
Achieving the perfect texture requires attention to the cream’s cooking time, using gelatin properly to create a smooth, wobbly texture, and balancing the sweetness
- You can elevate Nutella Panna Cotta with various garnishes like fruits or whipped cream and customize it to your preference, making it lighter or try other flavours beyond Nutella.
The Magic of Nutella Panna Cotta
Nutella Panna Cotta is not just a dessert, it’s a classic that marries Italian panna cotta with the world-renowned spread with a combination of chocolate and hazelnut, creating a fusion that’s both familiar and new at the same time. Whether it’s a romantic Valentine’s Day dinner or a colourful Easter lunch, this versatile dessert fits perfectly into any festive menu, bringing smiles to faces year-round.
The best part of this dessert? Its simplicity means that anyone can whip up this gourmet experience at home, no chef’s hat required, using just a touch of vanilla extract.
The Nutella Effect
When you add Nutella to the mix, you’re not just adding a chocolate spread; you’re infusing your dessert with a taste that’s instantly recognizable and universally loved. The rich, nutty, and chocolatey character of Nutella elevates the traditional panna cotta recipe to create a unique version of this classic dessert that’s simply irresistible. It’s for those who love Nutella, and let’s be honest, who doesn’t?
Creamy Texture Perfection
A perfect Nutella Panna Cotta is barely set with a wobbly consistency—a texture that’s full of creaminess. Achieving this creaminess requires care; the cream mixture should be removed from heat just as steam begins to rise, before it reaches a boil, to maintain that essential smoothness. It’s the use of double cream, free from added thickeners, that contributes to the lush, velvety quality of this dessert. Thickeners can lead to a firmer set that simply doesn’t do justice to the delicate nature of a true panna cotta.
Ingredients
Double cream – this is a rich cream here in the UK. The closest thing in America would be heavy cream. This gives the dessert a luscious creamy texture and mouthfeel.
Milk – I like to use full-fat milk to make sure this dessert is nice rich and super creamy.
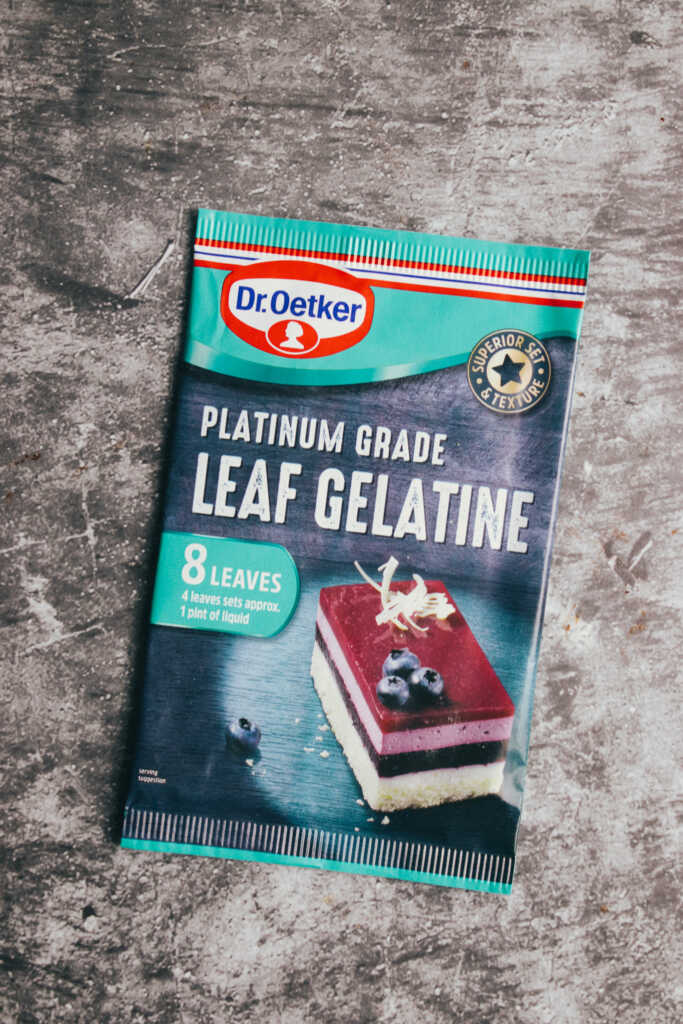
Gelatin leaf – I like to use gelatin leaves as it is easier to work with than gelatin powder.
Vanilla extract – to give lovely flavour to the panna cotta
Jar of Nutella – to add to your cream and milk mixture to add that lovely hazelnut flavour to the panna cotta
How to Make Nutella Panna Cotta Recipe
Bloom the gelatine
Gelatine leaf needs to be soaked in water first before it can be used. Submerge in water in a small bowl for around 5-10 minutes. You will notice that it softens and becomes limp. Before you use it you must squeeze out the excess water.
Heat the cream mixture
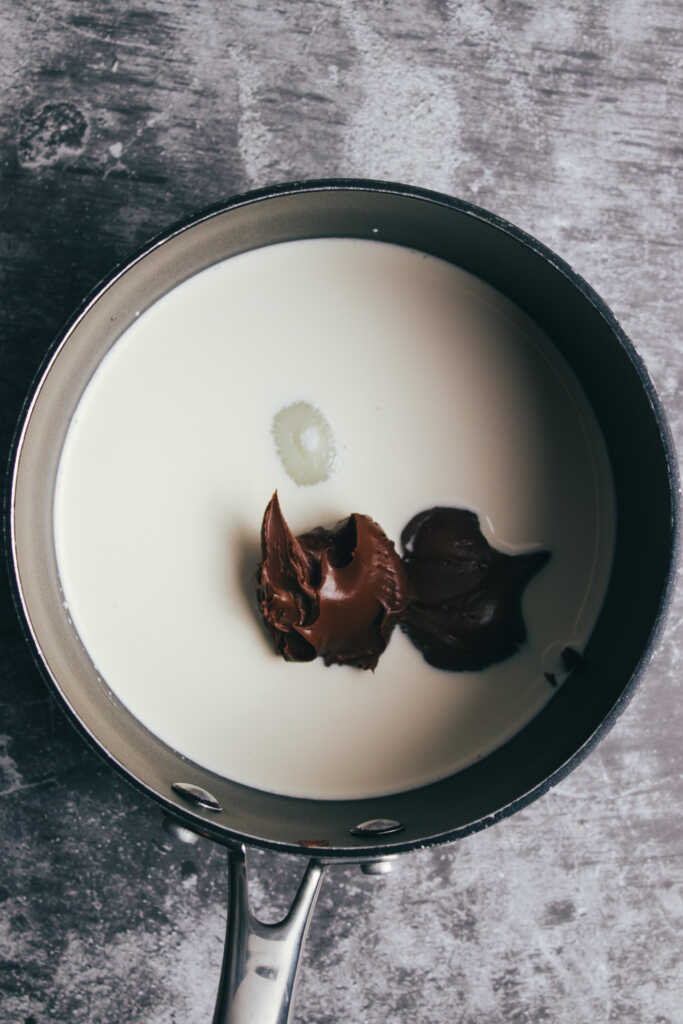
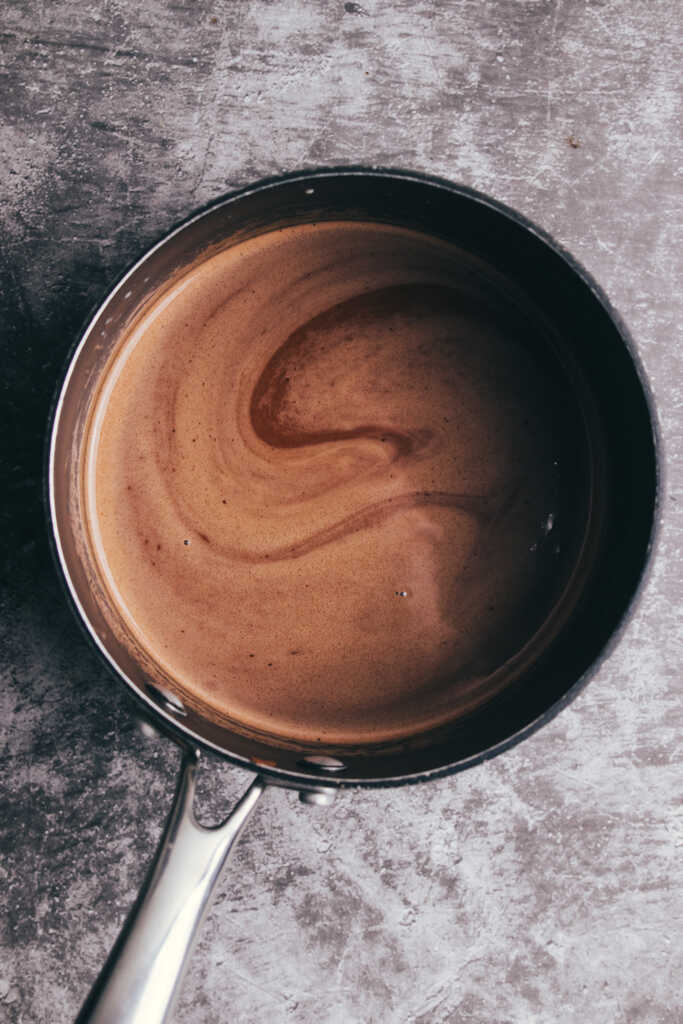
In a small saucepan over medium heat, bring the cream, milk, sugar, and Nutella spread up to just below boiling and it bubbles at the edges – then remove from the heat. You will need to continuously whisk to make sure you incorporate the Nutella and that it melts and dissolves into the cream with the rest of the ingredients.
Add Vanilla and gelatine
stir in the gelatine and vanilla. Once the gelatin has dissolved the gelatin mixture can cooled until room temperature, stirring regularly to prevent a skin forming. The mixture can then be divided among dariole moulds or ramekins.
Remove from moulds
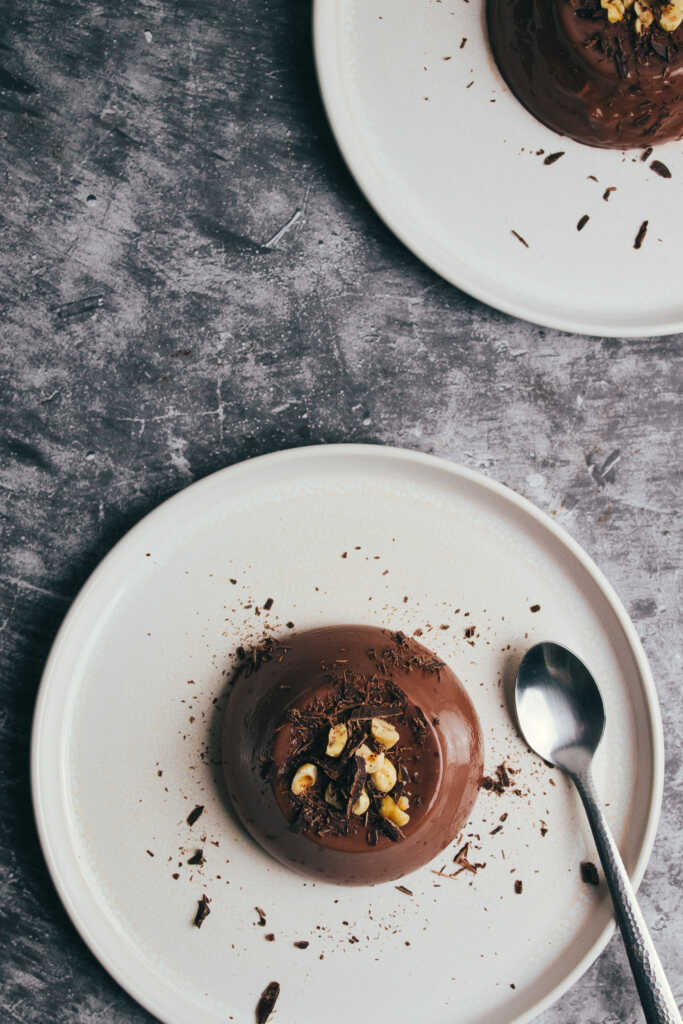
To remove the puddings from the moulds, place each mould into a bowl of hot water for 3 seconds each – just a quick dip to loosen the panna cotta. The mould can then be inverted onto a plate.
Gelatin Tips and Tricks
The gelatin, a humble yet crucial ingredient, holds the secret to that characteristic jiggle and smoothness we love in panna cotta. It’s all about the bloom—the initial step where gelatin meets water is what ensures a smooth, lump-free dessert later on. The right amount is key: too little and your panna cotta might wobble off the plate; too much and you’ll end up with something closer to rubber than dessert.
.
Setting and Serving Suggestions
Choose from the classic elegance of ramekins or the laid-back charm of dessert glasses to serve this lovely dessert. Transparent dishes reveal the beauty of layered contrasts, while plated ramekins, briefly dipped in warm water for easy release, add a touch of finesse to your table.
Before pouring the strained mixture into your chosen vessels, ensure its silky perfection by passing it through a fine sieve for a texture so smooth it could glide. Patience is then required as the panna cottas rest in the refrigerator, setting into their final form overnight, and if needed, they have a shelf life of up to 2 days before you serve them up.
For those opting for clear glasses, a sprinkle of chopped hazelnuts or chocolate shavings on top of the Nutella Panna Cotta in a medium bowl can transform it from a simple dessert into an eye-catching centerpiece.
Elevating Your Nutella Panna Cotta
To elevate your Nutella Panna Cotta from delightful to divine, think of the garnishes. Some options include:
Seasonal fruit
Toasted brioche bits
Sugar-coated almonds/hazelnuts
These additions bring a refreshing pop of color, a burst of natural sweetness, and a delightful crunch that perfectly complements the smooth Nutella Panna Cotta.
For a fruity experience, a dollop of sweet-tart jam gives a fruity acidity that pairs well with the rich chocolate spread.
Whipped Cream Wonders
The crowning glory of any Hazelnut Panna Cotta could well be a dollop of whipping cream. Opting for a sugar-free version balances the inherent sweetness of the Nutella, creating a taste that’s rich yet refined. Piping this whipped cream on top of your dessert adds an elegant touch, while chocolate shavings generously sprinkled over it invite an extra layer of indulgence.
For those who can’t get enough of that signature hazelnut flavor, a garnish of chopped roasted hazelnuts and a warm Nutella drizzle will turn your creamy creation into a masterpiece!
Hazelnut Heaven
The Nutella Panna Cotta’s hazelnut theme can be further enriched with Spiced Candied Hazelnuts. These gems are created by:
Toasting the nuts
Coating them in a mix of sugars, butter, and a whisper of vanilla, until they’re cloaked in a caramelized coat
Once cooled, they’re ready to be scattered atop your dessert, providing a sweet and crunchy contrast that takes your Nutella Panna Cotta to heavenly heights.
Lighter Nutella Panna Cotta Options
Indulgence doesn’t have to come with a heavy price. For a lighter take on the classic Nutella Panna Cotta, consider swapping some of the double cream with whole milk—a small change that can significantly reduce the fat content without sacrificing that creamy texture we all crave. And if sugar is a concern, turn to natural sweeteners like Stevia or erythritol to cut down on calories while still enjoying a sweet finish.
Adjusting the amount of Nutella and sweetener gives you the power to tailor the dessert to your taste preferences, ensuring that your lighter version is still a flavor-packed treat.
Exploring Other Panna Cotta Flavours
While Nutella Panna Cotta might be your go-to dessert, the world of panna cotta is vast and varied. In addition to Nutella, exploring other panna cotta recipes can introduce you to some delicious variations, such as:
Classic Vanilla Panna Cotta: a classic with its pure vanilla essence shining through.
Buttermilk Panna Cotta: a twist that introduces a tangy dimension that pairs wonderfully with sweet accompaniments.
Mango or Berry Panna Cotta: fruit-infused versions that add a burst of natural sweetness and tang.
Rose syrup or Gin Panna Cotta: botanical panna cottas that offer an elegant and aromatic experience.
Spices and herbs like chamomile, rosemary, and bay leaves can weave complex flavors into the creamy base, creating a dessert that’s both comforting and captivating. And for the adventurous palate, Yoghurt Panna Cotta or Choc-Espresso Panna Cotta are worth a try.
Hints & Tips
Use milk as well as cream. I have tried making these beauties with just cream instead of a mix of cream and milk. My thinking was that they would be extra rich, which they are but they also get a little bit heavier and denser. Panna cotta is meant to be nice and light so stick to using milk and cream mixture. You could also try using semi-skimmed milk instead of whole milk like I have.
Leave to set overnight. It can be tempting to try and unmould these after about the four-hour mark as that is usually around enough time. The temperature of your fridge will play a part as well as what part of the world you are in. My advice would be to leave them to set overnight, that way you are guaranteed they are set and you don’t try to unmould them too early and they collapse.
Where do I get flat-leaf gelatine? Most supermarkets should have this easily and is usually found in the aisle with the Jellies and baking goods.
Add your gelatine to the mixture once you take it off the heat, just below a boil, and stir until dissolved. Gelatine can be fragile and a high heat can render it useless if it is added to boiling cream. Make sure you stir well otherwise the panna cotta can separate.
Always bloom the gelatin and remove the excess water before adding to the cream mixture.
Addressing Texture Issues: From Runny to Rubber
One of the most common texture issues with panna cotta is its consistency. It can range from being runny to rubbery if not prepared correctly. To address these texture issues and achieve a perfect, silky-smooth Nutella Panna Cotta, keep the following tips in mind:
- Ensure that the gelatin is fully dissolved in the cream mixture before setting.
- Use the correct amount of gelatin as stated in the recipe to achieve the desired texture.
- If you prefer a creamier texture, you can substitute some or all of the gelatin with agar-agar, a plant-based alternative.
- Adding a small amount of sour cream to the cream mixture can also contribute to a smoother texture.
- Whisk the gelatin mixture into the cream slowly to avoid creating air pockets, which can lead to a rubbery texture.
Frequently Asked Questions
Can I use milk instead of cream for a lighter Nutella Panna Cotta?
Yes, you can use milk instead of cream to make a lighter Nutella Panna Cotta without sacrificing the creamy texture. Enjoy your delicious dessert!
How long does it take for Nutella Panna Cotta to set in the fridge?
It usually takes about 4 hours for Nutella Panna Cotta to set in the fridge, but you can also leave it for up to 2 days before serving. Enjoy!
What are some creative ways to present Nutella Panna Cotta?
You can present Nutella Panna Cotta in ramekins, dessert glasses, or cute jars for a fun and creative way to serve this delicious dessert. Another idea is to unmold it from ramekins for a nicely plated presentation. Enjoy!
Can I make Nutella Panna Cotta without gelatin?
Yes, you can make Nutella Panna Cotta without gelatin by using agar-agar as a vegetarian substitute for achieving the classic texture of panna cotta. Give it a try!
How can I garnish my Nutella Panna Cotta to impress my guests?
You can impress your guests by garnishing your Nutella Panna Cotta. Try sugar-free whipped cream, chocolate shavings, or Spiced Candied Hazelnuts/chopped hazelnuts for a delicious finish. Give it a try!
Is panna cotta gluten free?
If you adhere to a gluten-free lifestyle or have celiac disease, you’ll be thrilled to know that nutella panna cotta is a gluten-free dessert! The recipe for nutella panna cotta is free of gluten-containing ingredients. This makes it a safe and delicious option for those with gluten sensitivities. By using alternative ingredients and making a few simple swaps, you can enjoy this decadent dessert without compromising your dietary needs. So go ahead, indulge in a gluten-free chocolate panna cotta and savour every delightful bite!
Can you freeze panna cotta?
Yes, it can be frozen. Cover with plastic wrap and place in the freezer, It will keep for 3 months. Defrost overnight before serving.
Can you put too much gelatin in panna cotta?
Absolutely! If you add too much gelatine, the pudding will set very firm like a jelly. The idea is it to be just set so its soft and melts in the mouth.
What’s the difference between creme brulee and panna cotta?
They are both sweetened thickened cream-based desserts, but creme brulee uses eggs to set the cream, as opposed to the gelatin used here in this recipe.
Are There Dairy-Free Alternatives for Panna Cotta?
Yes, there are dairy-free alternatives for panna cotta. You can use coconut milk, almond milk, or soy milk as a substitute for dairy cream. These alternatives will provide a creamy texture and add a subtle flavour to the panna cotta. Additionally, you can use agar-agar as a plant-based setting agent instead of gelatine. Adjust the recipe accordingly and follow the instructions for the dairy-free alternative to ensure proper results.
Panna Cotta Nutella
Equipment
- 2 dariole moulds
- 1 small saucepan
Ingredients
- 140 ml double cream
- 140 ml whole milk
- 2 tbsp caster sugar
- 1 ½ leaves gelatin
- 1 tsp vanilla
- 4 tbsp Nutella spread
Instructions
- Begin by blooming your gelatin sheets in cold water. Ensure the gelatin is covered. Leave to soak for 5-10 minutes
- Add the cream, milk, sugar and nutella spread to a saucepan and bring up to just under a boil, stirring continuously.
- Remove from the heat once the nutella has fully melted into the cream and milk mixture and bubbles just start to appear at the edges.
- Remove the gelatine leaves from the water and squeeze out any excess water
- Stir into the cream mixture until fully dissolved
- Allow the mixture to cool to room temperature, stirring regularly to prevent a skin forming on the top.
- Divide into dariole molds or ramekins and leave overnight in the fridge to set
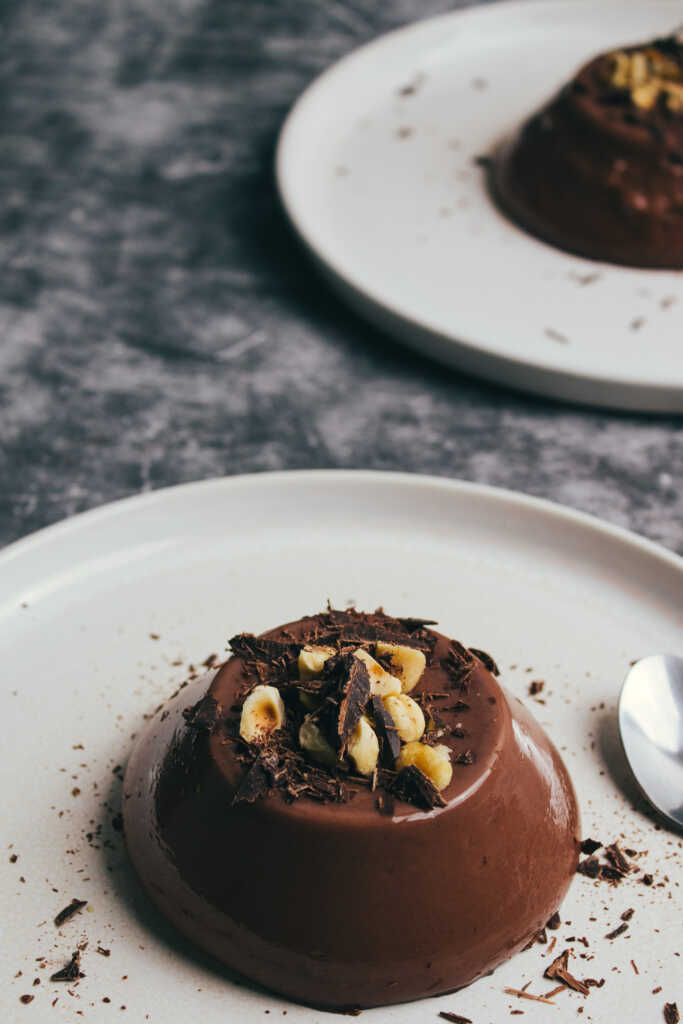
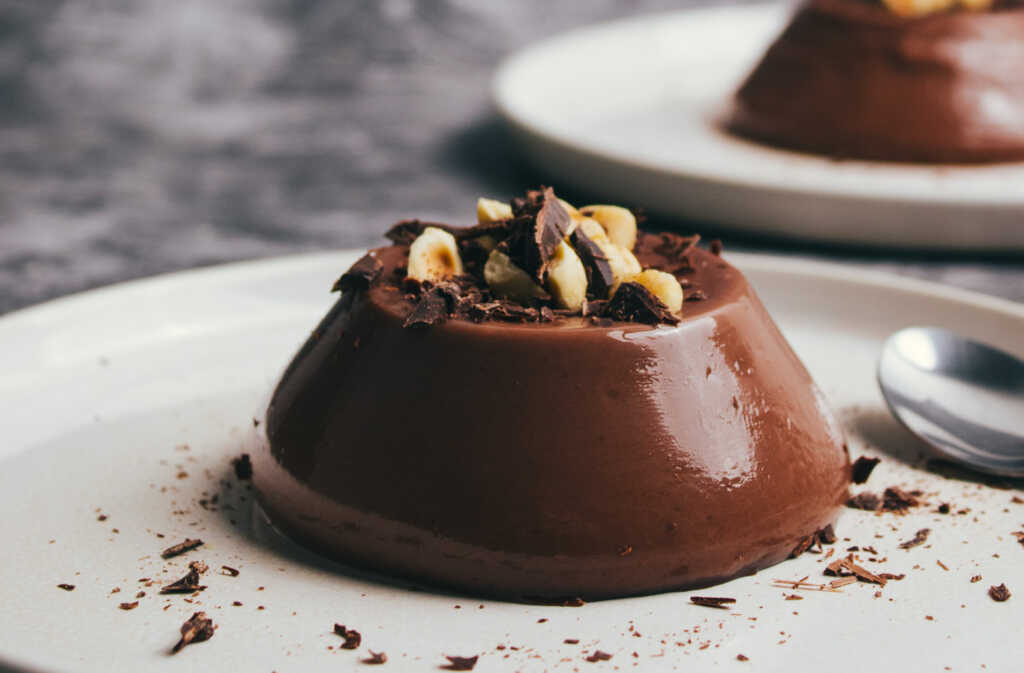
- To remove from the molds, place them in hot water for around 3 seconds to help release the puddings. Invert onto a dessert plate then garnish with chopped hazelnuts and dark chocolate shavings.
Try Another Recipe
Find more ideas in my Easy Dessert Recipes collection

Hi, I’m Paul! I’m a passionate home chef, recipe developer, and food lover who believes that cooking should be fun, rewarding, and stress-free! Through Scoffs & Feasts, I share my favorite tried-and-tested recipes, cooking tips, and troubleshooting advice to help home cooks gain confidence in the kitchen. Whether you’re a beginner or an experienced foodie, I hope my recipes inspire you to try something new.