
If you need a cake that never fails, this Easy Vanilla Traybake is the one to bake. It’s soft, fluffy and stays moist for days — thanks to a simple batter made with plain flour, the right amount of baking powder, and a gentle mixing method.
This version uses a smooth, tangy cream cheese frosting instead of traditional icing, which gives a silky finish that spreads easily and pairs well with vanilla.
Whether you’re baking for birthdays, school fairs, picnics or just a weekend treat, this is the easiest traybake recipe you’ll ever make.
If you love easy dessert recipes, my No Bake Lemon Tart is another simple crowd-pleaser.
Why You’ll Love This Vanilla Traybake
- Customisable flavours
- Soft, fluffy crumb — never dense or dry
- Foolproof method with step-by-step photos
- Uses plain flour + baking powder (easy ingredients!)
- Cream cheese frosting for a rich, smooth finish
- Perfect party-sized cake (serves 12–16)
- Easy to decorate with sprinkles
- Freezes well (unfrosted)
And if you enjoy quick baking recipes, try my Banana Tarte Tatin next — it comes together in minutes.
From My Kitchen
I’ve tested this Vanilla Traybake plenty times, and the secret to a perfect sponge every time comes down to:
- Creaming the butter and sugar thoroughly
- Using plain flour with the correct amount of baking powder
- Mixing gently once the flour goes in
- Baking until just done so it stays soft and moist
The cream cheese frosting is cold, silky and spreadable — ideal for creating that classic traybake look with colourful sprinkles on top.
For more comforting desserts, my Biscoff Tiramisu is always a huge hit.
Ingredient Notes (From My Kitchen)
- Plain flour: Paired with the right amount of baking powder, it gives a light, soft crumb.
- Baking powder: this helps to give the cake its rise
- Buttermilk: Adds moisture and keeps the crumb tender.
- Cream cheese: Full-fat only — it’s essential for structure and a thick frosting.
- Icing sugar: Adjust to make the frosting softer or firmer, and you can adjust to your level of sweetness.
I used a 12″x8″ baking tin for this recipe. For anyone unsure about swapping tin sizes, this cake tin size guide from Doves Farm is really helpful.
How to Make Vanilla Traybake
- Measure out all your ingredients
Get prepared by measuring out all your ingredients so you are ready to start baking!
- Make the cream cheese frosting
To make the frosting, use room-temperature butter and beat with the cream cheese in a large bowl until combined and thoroughly mixed. Add the icing sugar in thirds and beat until just mixed. Cover and place in the fridge until needed.
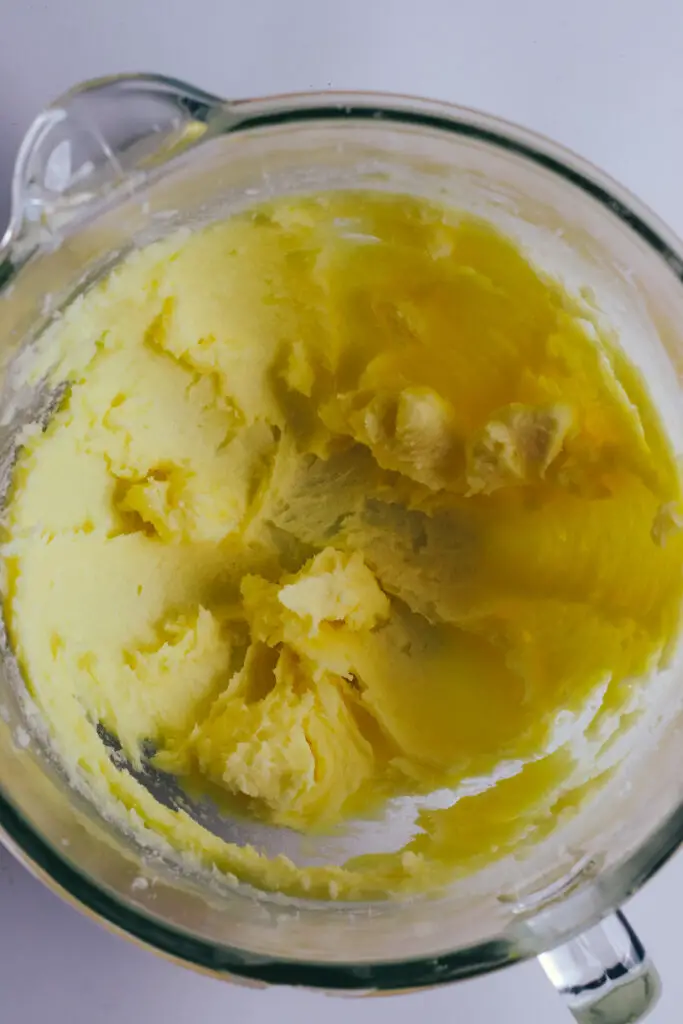
- Cream the butter and sugar
Using a stand mixer, cream the room-temperature butter and sugar on medium speed until light and fluffy and pale in colour. This helps to give the cake a nice texture and get some air into the mixture.
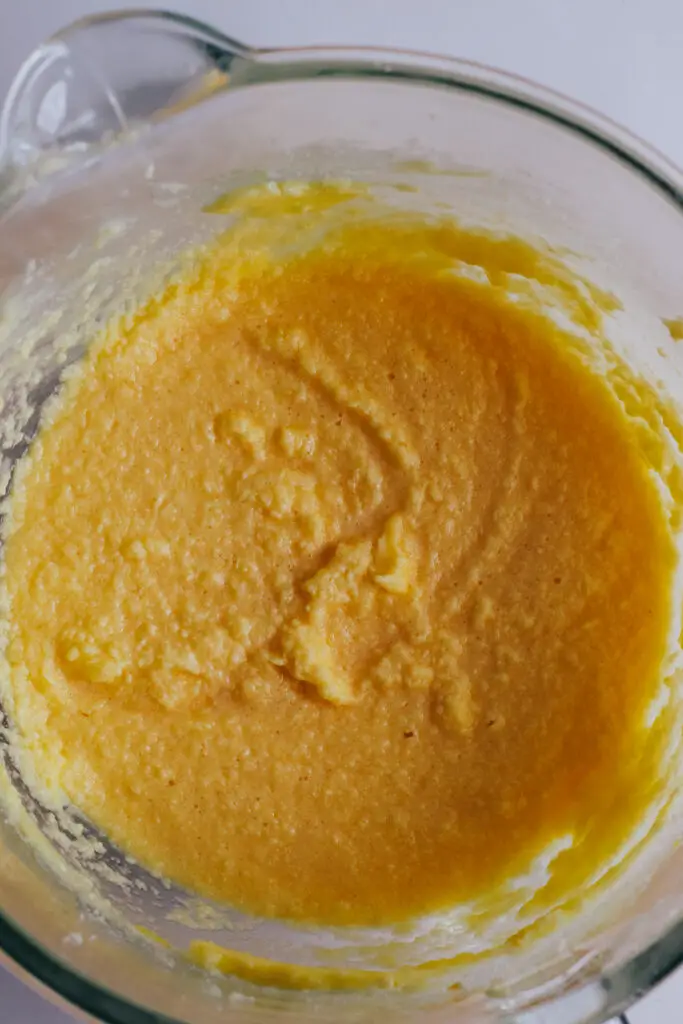
- Add the eggs, vanilla and buttermilk
Add one egg at a time to the stand mixer, then add the vanilla and buttermilk. It is normal for the mixture to look split at this stage – don’t worry it comes together once you add the flour. The mixture can tend to stick to the sides of the bowl so don’t forget to periodically scrape down the sides. This way everything will get mixed properly.
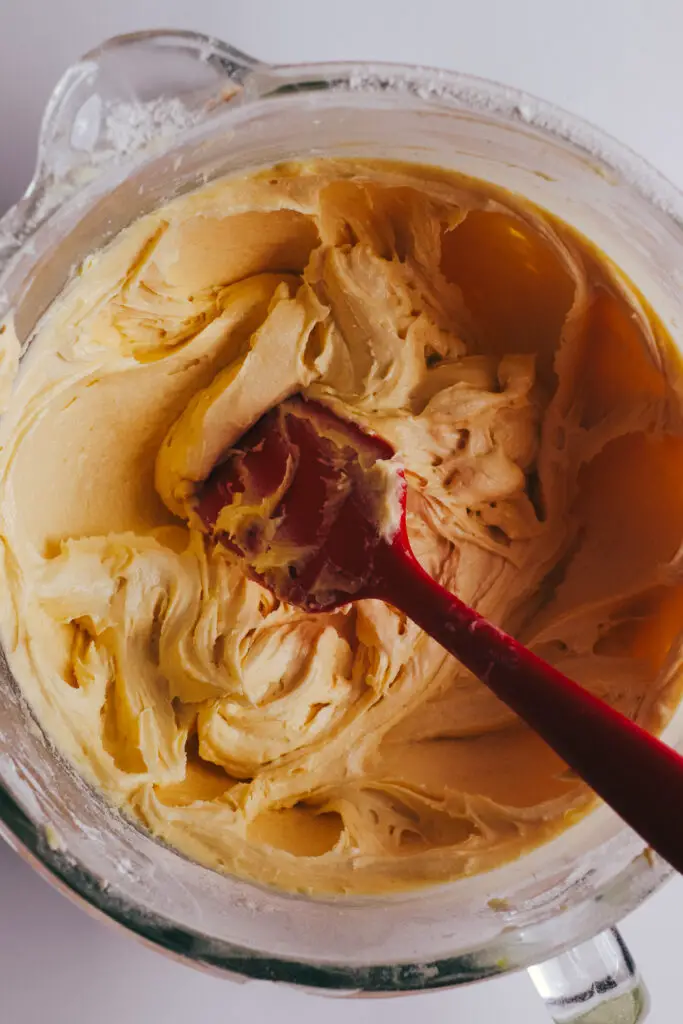
- Add in the flour
Add the flour to the mixing bowl one third at a time until it is all fully incorporated, scraping down the sides if needed.
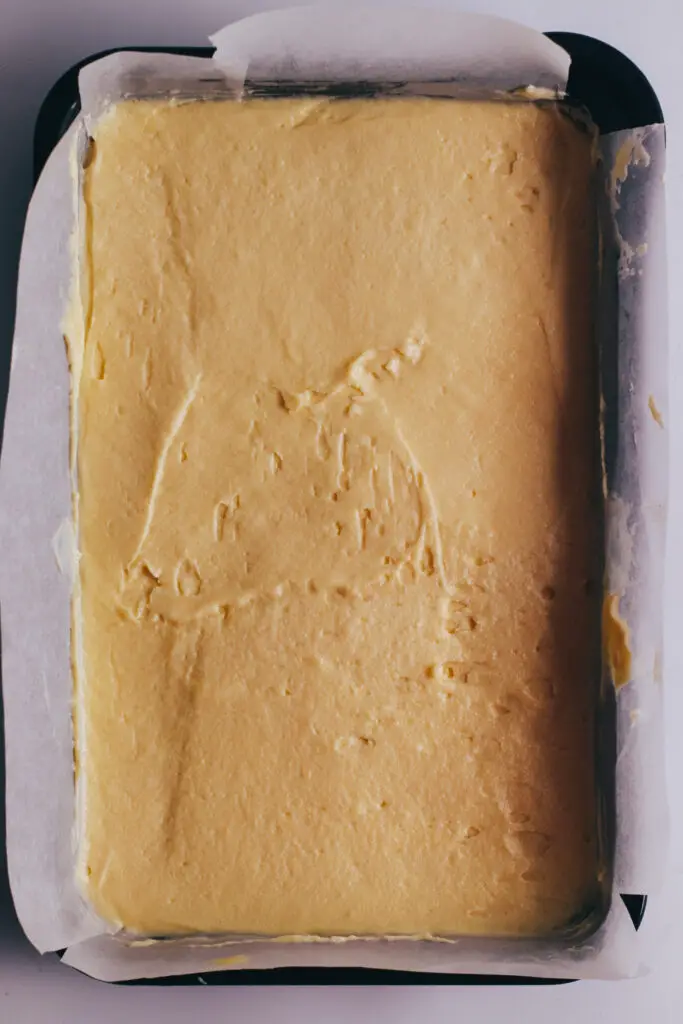
- Add mixture to a baking tray
Add the mixture to a greased or lined baking pan and spread out using a palette knife until the mixture is flat and even and fills the tin
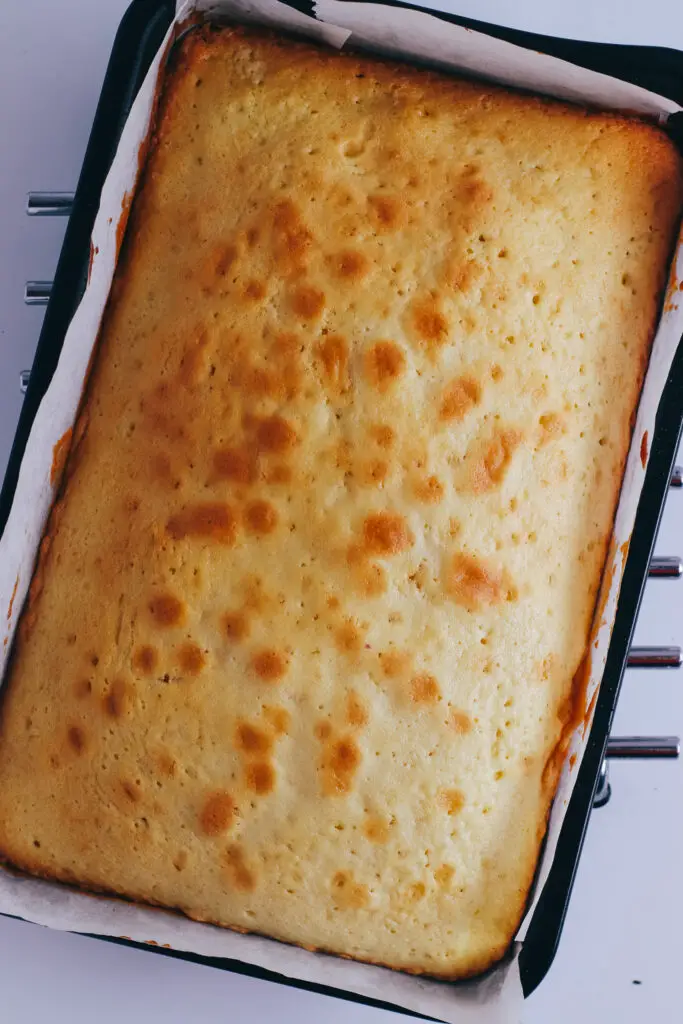
- Bake
Bake the sponge at 180°C for 30 minutes or until a skewer inserted in the middle of the cake comes out clean and the cake is nice and golden
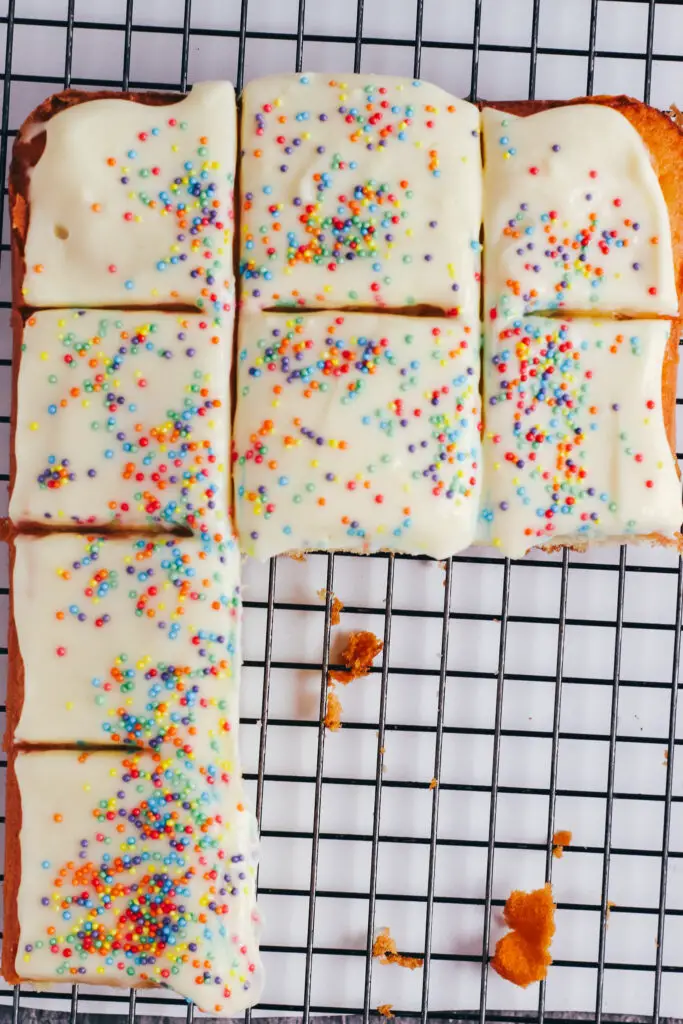
- Frosting
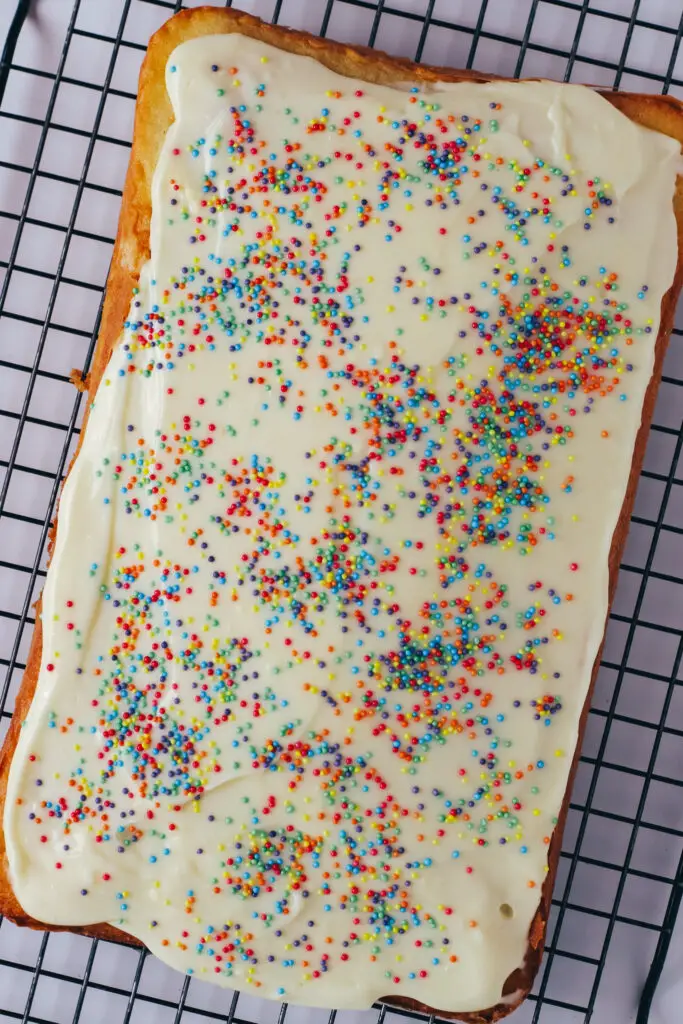
Once the cake has cooled on a wire rack, the frosting can be added and spread over the top of the cake using a palette knife or spatula. Sprinkles can then be added. This cream cheese frosting adds a rich, silky finish that cuts through the sweetness of the vanilla sponge.
If you’re looking for no-bake crowd-pleasers, my 5-Ingredient No-Bake Vanilla Bean Cheesecake is perfect for warmer days.
Tips From My Kitchen
- Use room-temperature ingredients for the sponge – Soft butter and room-temperature eggs give you a smoother batter and a lighter crumb.
- Cream the butter and sugar properly – This is the secret to a fluffy traybake. Beat for 2–3 minutes until very pale and airy.
- Fold the flour in gently – Once the plain flour and baking powder go in, mix slowly to avoid knocking out the air.
- Spread the batter right into the corners – This ensures an even rise and prevents the edges from becoming taller than the centre.
- Check your oven temperature – Traybakes tend to brown quickly in hotter ovens. If yours runs hot, lower the heat by 10–15°C.
- Cool the cake fully before frosting – Cream cheese frosting will melt and slide if the sponge is even slightly warm.
- Use cold cream cheese for a thicker frosting – Take the cheese straight from the fridge — this prevents runny frosting.
- Stop frosting as soon as it turns silky – Overbeating cream cheese frosting causes it to loosen.
- Use an offset spatula for smooth icing – It gives you a clean, bakery-style finish and helps spread the frosting evenly.
- Add sprinkles immediately – They stick best when the icing is freshly spread. Avoid liquid-dyed sprinkles that bleed.
- Want extra flavour? Add a pinch of salt – A tiny amount brings out the vanilla without making the cake taste salty.
- Slice with a hot knife for clean edges – Dip the knife in hot water and wipe dry — this gives neat squares every time.
What Could Go Wrong?
- The cake is dense or heavy – this usually means the batter was overmixed once the flour was added. Fold gently to keep the sponge light.
- The sponge baked unevenly– Make sure the batter is spread right into the corners of the tin — this helps the cake rise evenly.
- The cake sinks in the middle – Opening the oven door too early, underbaking, or using too much baking powder can all cause sinking. Bake until the centre springs back.
- The sponge is dry– The cake was overbaked. Check from 22 minutes and remove as soon as it springs back to the touch.
- The top cracked– Your oven may run hot. Lower the temperature by 10–15°C next time.
- The frosting is too runny – Cream cheese was too warm or the frosting was overmixed. Use cold cream cheese and stop mixing as soon as it comes together.
- The icing melts into the cake – The sponge was still warm. Always cool the cake completely before frosting.
- The cake tastes bland – Increase the vanilla extract or use a higher-quality one. A pinch of salt can also boost overall flavour.
- The sprinkles bled into the icing – Some sprinkles aren’t colour-stable. Add them immediately after frosting and avoid “liquid-heavy” sprinkles that bleed easily.
Variations
- Vegan Option: Use vegan butter & simple icing (not cream cheese frosting)
- Birthday Sprinkle Traybake: Stir sprinkles into the batter
- Lemon Traybake: Add lemon zest + lemon icing
- Chocolate Chip Traybake: Add 100g chocolate chips
Serving Suggestions
- Add themed sprinkles for seasonal events
- Ideal for parties, school fairs, birthdays
- Cut into neat squares for easy serving
And if you’re planning a full spread, my Country Omelette is one of my favourite easy brunch bakes.
Storage & Freezing
- Travel: Chill before transporting to keep frosting firm
- Fridge: Keeps 4–5 days (cream cheese frosting)
- Freezer: Freeze unfrosted sponge for up to 3 months
FAQ’s
Yes — replace the plain flour + baking powder with self-raising flour
Yes it can be halved, but you will need a smaller tin for baking so the cake has some depth to it.
Bake the sponge the day before & frost on the day.
Try Another Recipe
Easy Vanilla Traybake – Soft, Fluffy & Perfect Every Time
Ingredients
- 2 tsp baking powder
- 250 g plain flour
- 250 g unsalted butter
- 250 g caster sugar
- 4 large eggs
- 3 teaspoons vanilla extract
- ¼ cup buttermilk 60ml
- Frosting
- 280 g cream cheese
- 140 g unsalted butter
- 1 ½ cups icing sugar
- 1 tsp vanilla extract
Instructions
- To make the frosting – whip together room temperature butter, vanilla extract and cream cheese using a hand mixer until thoroughly combined and smooth. Add the icing sugar in thirds, mixing well between each addition to ensure it gets thoroughly mixed in.
- Cover and set aside in the fridge while you make the cake
- Beat room temperature butter with the caster sugar in a stand mixer using the paddle attachment until light and fluffy and pale
- Add one egg at a time and continue to mix. It is normal for the mixture to look split at this stage
- Add the vanilla extract and the butter milk and mix
- Add the sifted flour and baking powder in thirds, mixing well between each addition
- Once the batter has come together, add to a well greased and lined baking tray and even out with a pallet knife
- Bake at 180℃ for 30 minutes (see note) until a skewer comes out clean and the cake is golden
- Let cool completely before spreading the frosting over the top
- Add 2 tablespoons of sprinkles before cutting and serving
Notes

Hi, I’m Paul! I’m a passionate home chef, recipe developer, and food lover who believes that cooking should be fun, rewarding, and stress-free! Through Scoffs & Feasts, I share my favorite tried-and-tested recipes, cooking tips, and troubleshooting advice to help home cooks gain confidence in the kitchen. Whether you’re a beginner or an experienced foodie, I hope my recipes inspire you to try something new.